Saturday, November 13, 2010

BSA Electric Starter Kits.

Making my favourite Brit twins even better!
Anyone involved with classic BSA's will have heard about SRM engineering.  Originally formed by Steve McFarlane, SRM was famous for Steve's oil end-feed crank conversions - and still is.  My own BSA A10 had the conversion, along with other cool modifications, when they were still in Cardiff.  


Present day - and while SRM is now in Aberystwyth - Steve remained in Cardiff restoring and repairing classic and modern bikes in his new workshop in Brunswick street.  


Trust me - this guy can fix anything!  The standard of his work is second to none and, where I normally can't stand anyone else touching my bikes, I'm more than happy to let Steve work his magic when I need a rebore, crank regrind etc. (He once repaired a huge hole in the chaincase of my Norton Jubilee and the finish was stunning!)


So what's new?  
Well his latest creation is going to help a lot of classic riders enjoy their bikes well into old age.  A starter motor conversion for your BSA A10, A7, B31, B33 and Gold Star swinging arm models. Starter conversion


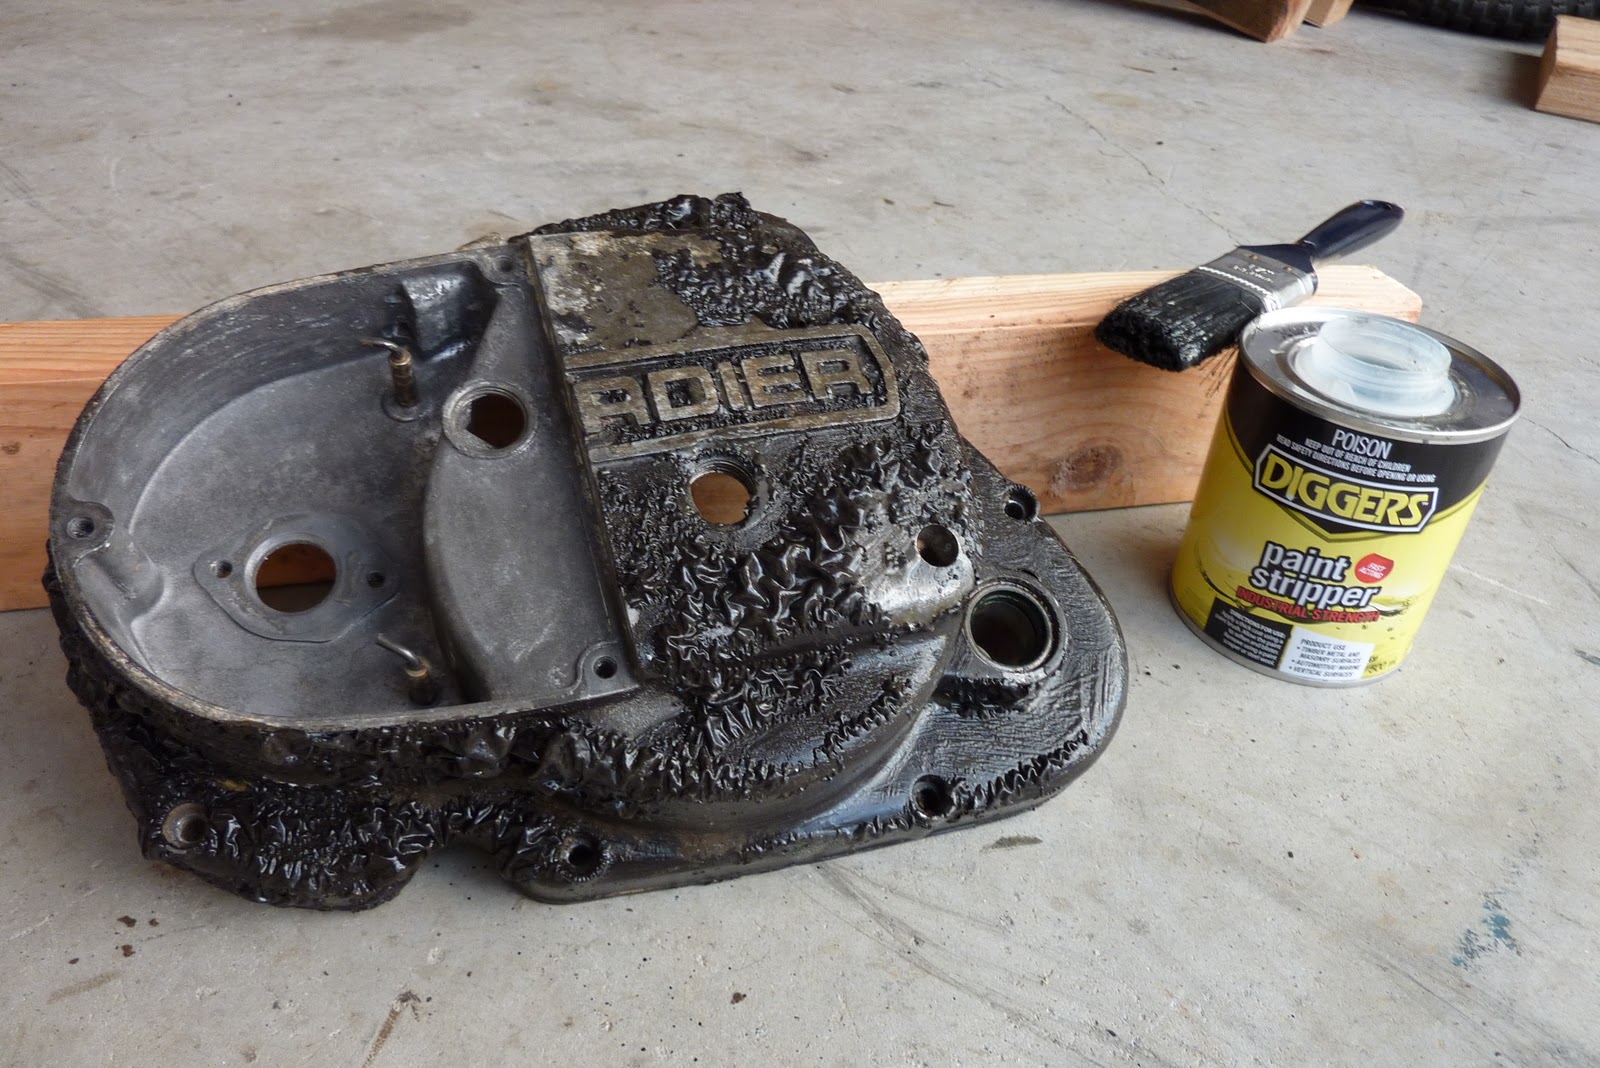
This kit is designed to be invisible when fitted - much like the crank feed conversion - and the quality superb.  Steve wouldn't fit it unless it was just right.  Take a look at the pics.


Want to see and hear one in action?  Youtube


What are you waiting for?  Call Steve on 02920 645045 for more details.  


No need to think about selling the old girl now!


Sunday, October 24, 2010

Supermoto fun - DRZ style.

It's been a while - house moving has taken its toll but now I'm back and bikes once again come first!

A new toy on the scene has given me plenty to do.  Having wanted a supermoto for years, I finally came up with a mint 2005 DRZ400E with both sets of wheels.  A UK spec bike, imported to Australia by its owner, and a successful bid on Ebay made me the proud owner.

So, what'll it do mister?  No rocket ship that's for sure but smooth and easy going.  I like it.

A cracking looking bike!  All that's needed now is the popular modifications for the DRZ courtesy of Thumpertalk.com.  More of that soon.


Friday, August 27, 2010

Aftermarket products

I'm the worst person to ask about aftermarket shi... umm products. I've had to fit hundreds of items over the years, on cars and bikes, and it's rare to find something that actually fits properly. From exhausts to clutch cables, brake shoes to gasket sets – there's usually always something that makes me groan because of quality or it takes literally hours to get something to work properly because it's a cheap copy!


So why do we fit them? Not by choice generally. At work it's because the customer has asked for it specifically or the dealership finds it easier to get something from a local factors. At home, it's usually because the only items you can still buy for an old bike are being made again by a new supplier.


Occasionally, I buy something that is just perfect! I forgot to mention the latest edition to the fleet, a 2005 DRZ400E with supermoto wheels. Cracking little bike, but still restricted by its rubber snorkel fitted in the airbox. Literally two fat fingers would have filled the opening!


The modification? Remove the snorkel (easy on the “E” model) and fit an upjet kit from JD Jetting in the USA. Ordered up from their site, I awaited delivery. It wasn't long before I was ripping open the package.


Immediately I was hit by the quality of the kit. The box it came in spoke volumes - sound lame? Well in my opinion, the overall package is important. It gives you an idea on what to expect when fitting the parts. Inside was a plastic box that held the two needles, four main jets and detailed instructions on how and what jets to fit depending on your altitude and riding temperature/humidity.


So what was it like to fit? Tank and seat off, unscrew the top of the carb (two 3mm allen bolts) and then a 4mm plug to remove for access to the needle. So easy! I used the blue needle from the kit and, because the temperature is lower at the moment, set the circlip 4th groove from the top. Dropped it in, refitted the 4mm plug and then the carb top. Sorted.


The main jet was a little more difficult and I thought the carb might have to come out but, with a little bit of manipulation, slackening of the inlet rubbers, taking the top subframe bolt out and removing the float bowl drain plug, I was able to weasel a new 162 main jet into place. That was the worst bit but I got it in!


So with it all tightened back up nicely, tank and seat back on, petrol tap turned on and choke out, it was time to hit the starter button. Success. Cheap modification that helps the bike breathe properly and perform as it should. A lot more fun!


Maybe aftermarket products aren't so bad after all – well some of them!

Monday, August 23, 2010

Valvoline Superbike Hot Laps!

I've just been gifted a "hot lap" on the back of Glenn Allerton, Aussie superbike rider and all round top fella!  It was on his "wet" race bike and what a buzz!  The venue - Queensland raceway and round 5 of the Australian Superbike series.

The Valvoline sponsored Honda Fireblade.  Down about 10 - 15 BHP on the "dry" bike but still around 180 at the wheel!  With extra bars mounted to the tank for the pillion, I had to hang on as tight as possible when accelerating and push hard when braking.  


Can't really describe the experience - it was just awesome.


From left:  Brett (team manager), Ray (another lucky pillion), Glenn Allerton and me.


Yep, we weren't hanging around.  In fact, around 8 seconds off race pace.  Pretty cool!


Dave, the top geezer that sorted out the ride!  Thanks mate, I owe you on... hundreds!


I'd write more but was left speechless and smiling!


Sunday, August 15, 2010

Best biker breakfast!

If you're in the Gold Coast, Queensland then you need to get yourself up the superb (as in bend after bend) road to Lower Beechmont.  


Close to Nerang (or Canungra if coming from that direction), you'll get to see fantastic scenery including views of Surfer's Paradise and the ocean or the Hinze Dam just below the mountain.


Back to the point of the title!  Laurel Cottage is in the middle of Lower Beechmont and serves up fantastic food, coffee etc. and all at great prices.  It must be reasonable because I eat there every weekend!


Check out www.laurelcottage.com.au and try it for yourself.  Great grub, great roads and great weekends!

Wednesday, August 11, 2010

HELP! Chain sizes... 520? 525? 530?

Need to know the difference?
Sometimes confusing, I had to check this up myself when a mate mentioned the chain on his R6 was a 532.  I looked it up and thought it should be a 525 but a conversion is also available to make it a 520!  So which one and why?


A quick look through Google found me a small article on EK's brilliant website which I've shamelessly copied and pasted.  After all, don't fix what ain't broke.


What’s the difference between 520, 525 and 530 chains?
The numbers indicate a chain’s dimensions, tolerances, minimum tensile strength and other specifications, using a system instituted by the Japanese Industrial Standards Committee. The JIS standard is very similar to chain standards developed by ISO, ANSI, DIN and others.
The first digit (4, 5 or 6) denotes a chain’s pitch – the center-to-center distance between chain pins. Originally these numbers specified pitch in eighths of an inch (i.e. a 400-series chain had a pitch of 4/8, or 1/2 inch), but now metric dimensions are used. A 400-series chain has a pitch of 12.7mm. A 500-series chain has a pitch of 15.875mm. A 600-series chain has a pitch of 19.05mm.
The second and third digits indicate the chain’s width, measured between the inboard surfaces of the inner sideplates. An EK chain ending in ‘20’ measures 6.35mm between the plates. If the number ends in ‘25’ or ‘28’, the dimension is 7.94mm. If the number ends in ‘30’ or ‘32’, the width is 9.53mm.
Because wider chains are typically stronger as well, the second and third digits also indicate a chain’s strength, relative to other chains with the same pitch. Higher numbers correspond to greater strength, i.e. a 525 chain is stronger than a 520. This additional strength is achieved through increased roller diameter, pin diameter, pin length and plate thickness.

Spot on! 

Monday, July 26, 2010

New chain and sprockets for the GSXR

It was time.  I'd been putting it off for a while and I was getting fed up with having to adjust the chain on the GSXR after every ride!  

New sprockets were ordered from www.bikegearwarehouse.com.au - the chain I already had waiting.


Vortex front sprocket, 17 tooth (standard)
Driven rear sprocket,  43 tooth (1 tooth more - K7 gearing)
DID Gold X-ring 530 chain.

I'm not changing the gearing too much, but this will give the K6 that slight extra snap in acceleration and the wheelbase is also reduced.  Wheelies should be easier than ever. After removing a few links from the chain, the adjusters are all the way forward. 


The black, stealth sprocket is looking good.  The hollow rivets in the chain link have mushroomed nicely with the rivet tool.  We are green for go.  Early morning ride coming up and hopefully no more of this constant adjusting!


Sunday, July 4, 2010

Results spur you on

This is what restoration is all about.  Taking something that looks fit for the bin and bringing it back to life. The clutch cover.


A quick wire brush, a rub with some wet and dry and I reckon it'll be ready.  Nearly.


Oil pump drive removed along with the clutch actuating mechanism.  The inside of the cover is in superb condition!  The outside not so.  Time for the Dremel fitted with a tiny wire brush.


The Dremel did the business - now for the paint.  This time I armed myself with paint stripper.  


Fantastic stuff!  Just need a scraper (plastic filler spreader is ideal because it won't scratch the metal) and we're away.  Better to wear gloves when doing this because that stuff stings a bit!


Time for the 120 grit wet and dry and a wash in the sink while no-one's about... 'looks around nervously'.


Time to get back in the garage before I get found out.


It's a good idea to clean out all of the threads.  Corrosion, instant gasket (silicone) and damaged threads all cause havoc when rebuilding so sort it out as you go along.  A good tap and die set is a must when restoring.


Right, let's give it a whirl.


That'll ding dang do for me.  Just needs the paint rubbing off the letters and it'll be right.


Not too bad to be fair.  Time to make a start on the stator cover.


Mixing paints - I knew it would happen!!!!

So the oil pump cover was painted.  Job jobbed, but then I wasn't happy with the gloss and decided satin would be the better finish.  Satin paint would also hide the light pitting in the cases.  Flatting them with 120 grit wet and dry has helped, and considering they are 35 years old, they aren't too bad... anyway, off to see Angus at Cheapa Auto Spares and the supplies were bought. 

VHT Engine Enamel in satin black as recommended by Davey
Autosol to polish up the aluminium bits and bobs
600 wet and dry to flat the oil pump cover painted a week earlier.


I set to work on the cover quick smart.  Flatted it off with water and the 600 paper and soon had it ready for painting.  Any shiny bits were keyed up with a scourer and a final degrease with brake cleaner before it was ready for another coat.  A light dust coat to start with but before I could even walk away, the reaction started!  The VHT reacted with the Sperex and I was faced with rubbing it back to bare metal again - oh how I laughed.


An hour later, the gloopy mess was cleaned off and I was ready to start again.  Still, now I was ready to paint the clutch and the oil pump cover.


Wednesday, June 23, 2010

Satin or gloss black?

When painting the Can-am engines I normally go for satin black.  To take a quick break from the engine internals, I thought I'd clean up the oil pump cover and give it a quick coat to see what gloss looked like.  Gloss is fine as long there are few imperfections in the surface but, because of the corrosion, I might not get away with it.

Hope there's metal under that corrosion.


Oof! Needs a bit of a clean up!  So a quick wire brush and I was left with this.


Time to get the rough wet and dry out.  I used an 80 grit to get rid of the worst of the corrosion and start feathering the paint edges.


Corrosion evident on the outside too.  Oh well, it'll add to the aged look! 

Time for the 320 wet and dry.  Looks like I'll end up with bare metal so 320 will be near to finish on.  If flatting off a painted surface, you need to end up with 800 grit to avoid the scratches showing through the paint.


Time to degrease and lay on the paint.  I did the underside and let it dry before turning it over and painting the side that matters.  My favourite aerosol engine paint is PJ1 Fast Black.  It goes on thick and the finish is superb.  I'm using Septone engine enamel but it does take a little more effort to cover compared to PJ1.


Unsure as yet whether or not I like it.  Might flat it off and use satin black instead. 
Decisions decisions.