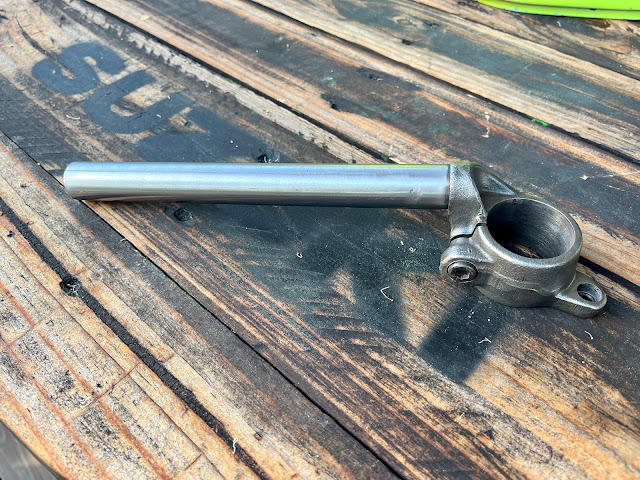
I got a bent one!
So the left clip-on has taken a bruising at some stage, not to mention the rust. I initially thought it might be able to be straightened but it had flattened the tube where it was bent and would never be right however much you looked at it. Secondhand ones are few and far between, and expensive, and I didn't want to risk getting another bent one.
On closer inspection of the offending item, you can see where they are originally welded to the cast clamp. With a bit of careful drilling and jiggery-pokery, we should be able to get the old steel tube off the clamp itself. It was pretty solid but gave way in the end.
I cut off the bad section and placed what was left in the lathe to take the outer diameter down enough to remove the threaded section that holds the bar end weights. Eureka!
All that was left to do was to go to the steel shop and pick up a length of 22mm pipe with a 2mm wall thickness. Pretty common, one would hope. Not in Australia it would seem, it's no longer available.
I then ordered some "Pipe Furniture" sections which were supposed to be 22mm O.D., but even they turned out to be 21mm. Bridgey pointed out the old handlebars on the ZXR project bike (more on that later) and it gave me an idea. A set of straight drag bars should give me the dimensions I needed. Then I remembered a load of factory-seconds bars I bought and stored a while ago. I already had the correct material in stock!
So this is how it looked. The end is pitted with rust because Yamaha didn't paint them right to the end. For obvious reasons on the throttle side, I guess, and then they just wanted them to look the same.


No comments:
Post a Comment