I always use rubber grease when fitting seals (even though brake fluid is recommended) because it's easier to work with, and allows the piston to slide easily. First time bleeding and your fluid might come out red, but once flushed everything is good to go.
 |
| Smear of rubber grease and seal fitted. |
The next step is to fit the dust cover. This prevents dirt getting in around the pistons. Nowadays you don't see this too much - multi-piston calipers often using a sealing rubber and nothing else. These are easy to fit because they go around the outside of the piston aperture. Car calipers, and the fronts of this GSX, require you to fit these into the aperture first before fitting the piston (awkward bastards!).
Both pistons and seals fitted. All that's left is to bolt both halves together with a new sealing rubber in between. This is to seal the fluid path between both sides of the caliper.
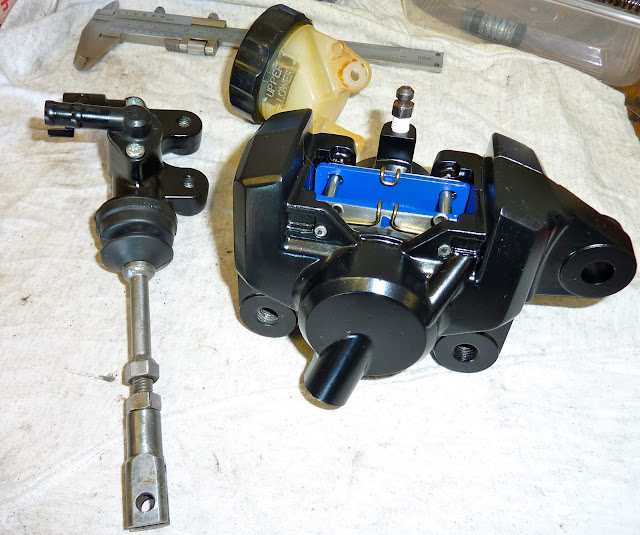
Completed. Note the PTFE tape around the threads of the bleed screw. This serves two purposes:
1) To prevent corrosion/seizure of the screw.
2) Easier bleeding because it stops any air bubbles bypassing the threads.
It's always worth replacing the retaining pins in an old caliper. Worn pins can sometimes hold the pads askew, causing braking issues and premature wear of the pads. I also opted for new spring clips.
New pads in and looking good. Nice contrast with the old parts.
Now for the master cylinder.
So, spring and cup first, lightly lubed with rubber grease, followed by piston and 2nd seal. Plunger goes in next retained with a new circlip, after applying grease to the moving parts of the plunger.
Finally, the protective boot goes back on to keep the dirt and water out. Nicely finished brakes for the rear of the GSX.
And, what it used to look like. Happy with that.


No comments:
Post a Comment