Carlsberg don't do projects, but if they did, they'd probably be the best projects in the world. Quite frankly, if a restoration project could be ideal, this one could well be it. Admittedly, the plastics are a bit rough, but mechanically she's proving to be pretty good.
After getting the engine running, the bike was quickly stripped and put into boxes. From here I will take pics, and start on individual components. If I get a bit fed up with doing one thing for too long, I'll move on to something else to break up the monotony. It's easy to get overwhelmed when stuck on a time-consuming part.
Anyone who has pulled old machines apart would be familiar with stripped heads on screws and bolts, especially when some of the bike is as rusty as this one. But, as corroded as every fastener is, everything came apart like it was put together last week! It's been surreal.
I had noticed play in the front wheel during the strip-down and was pretty shocked to find this.
Interesting that the spacer isn't some dirty old tube cut to length. Oh no, Yamaha knocked out some very sexy spacers indeed! Once it had been hit by the wire wheel, it came up nicely.
The main thing here though was that the bearings were still a nice tight fit in the wheel. The speedo drive was rusty but cleaned up well.
In no particular order, I'm picking up various parts and cleaning them up, checking what I need, and painting where necessary. The frame and larger parts are off to Burleigh Powder Coating so they can work their magic. It's going to be done in satin black as the rust is pretty bad and the pitting will show up more with gloss. Really hoping the parts come out well.
But more on the frame later.


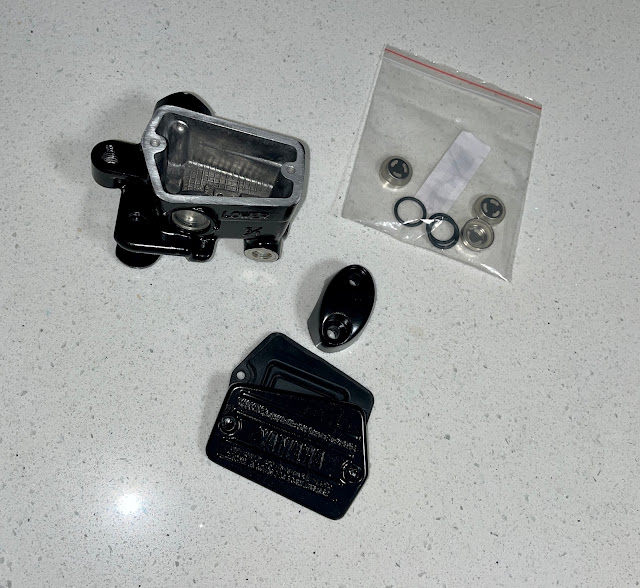
With a Vise-grips used as a lever, it came out relatively easy. The piston and rubbers were a mess as expected, but the clean up on the cylinder began.
With new sight glasses ordered on eBay, I began cleaning up the inside and outside with various wire brushes on drills. It all came out really well in fairness. With a couple of light coats of etch primer, it was painted in satin black.


No comments:
Post a Comment