Showing posts with label restoration. Show all posts

Tuesday, May 16, 2023

Yamaha FZ750 Restoration - Suspenders and Fast Rides.

Cracking blast today!

I'll digress at the start of the blog today. I'm having a great day! We all met up early for a fastish blast this morning and the 2002 R1 got to pit itself against a much-too-loud 2014 S1000RR (running 196BHP at the wheel). We also had a ZX14R, Diavel, CBR600RR, CBF13000, and an MT-07. She, the R1, limped home on three cylinders in the end but really did herself proud. 

Friday, January 27, 2023

Yamaha FZ750 Restoration - Burleigh Powder Coating.

The Frame is Back!

True to their word, less than a fortnight later and I got the call that it was ready to pick up. I was slightly apprehensive due to the fact that the rust was pretty bad, with heavy pitting. When you don't get to see what's left after blasting, it's always a worry. It's not cheap either. 

Would I have been better off with a wire brush in a drill and using aerosols? 😟 That would have taken forever as it's a big, complex frame. And the results are never the same when spraying a frame, overspray always dulling one side etc.

The powder coating on the BSA frame is still superb after thirty years, so I'd pretty much made my choice.

First, a wee recap. She was looking a little worse for wear...


The photos actually make it look far better than it was. Brake fluid had taken paint off in some places, rust had started taking over everywhere else. The centre stand looked like it had been dragged up from the Titanic.

Monday, January 23, 2023

The Yamaha FZ750 Restoration.

Blown away...

Carlsberg don't do projects, but if they did, they'd probably be the best projects in the world. Quite frankly, if a restoration project could be ideal, this one could well be it. Admittedly, the plastics are a bit rough, but mechanically she's proving to be pretty good.

After getting the engine running, the bike was quickly stripped and put into boxes. From here I will take pics, and start on individual components. If I get a bit fed up with doing one thing for too long, I'll move on to something else to break up the monotony. It's easy to get overwhelmed when stuck on a time-consuming part.

Anyone who has pulled old machines apart would be familiar with stripped heads on screws and bolts, especially when some of the bike is as rusty as this one. But, as corroded as every fastener is, everything came apart like it was put together last week! It's been surreal.

I had noticed play in the front wheel during the strip-down and was pretty shocked to find this. 

Sunday, December 4, 2022

1985 Yamaha FZ750 - The Start Of A Restoration.

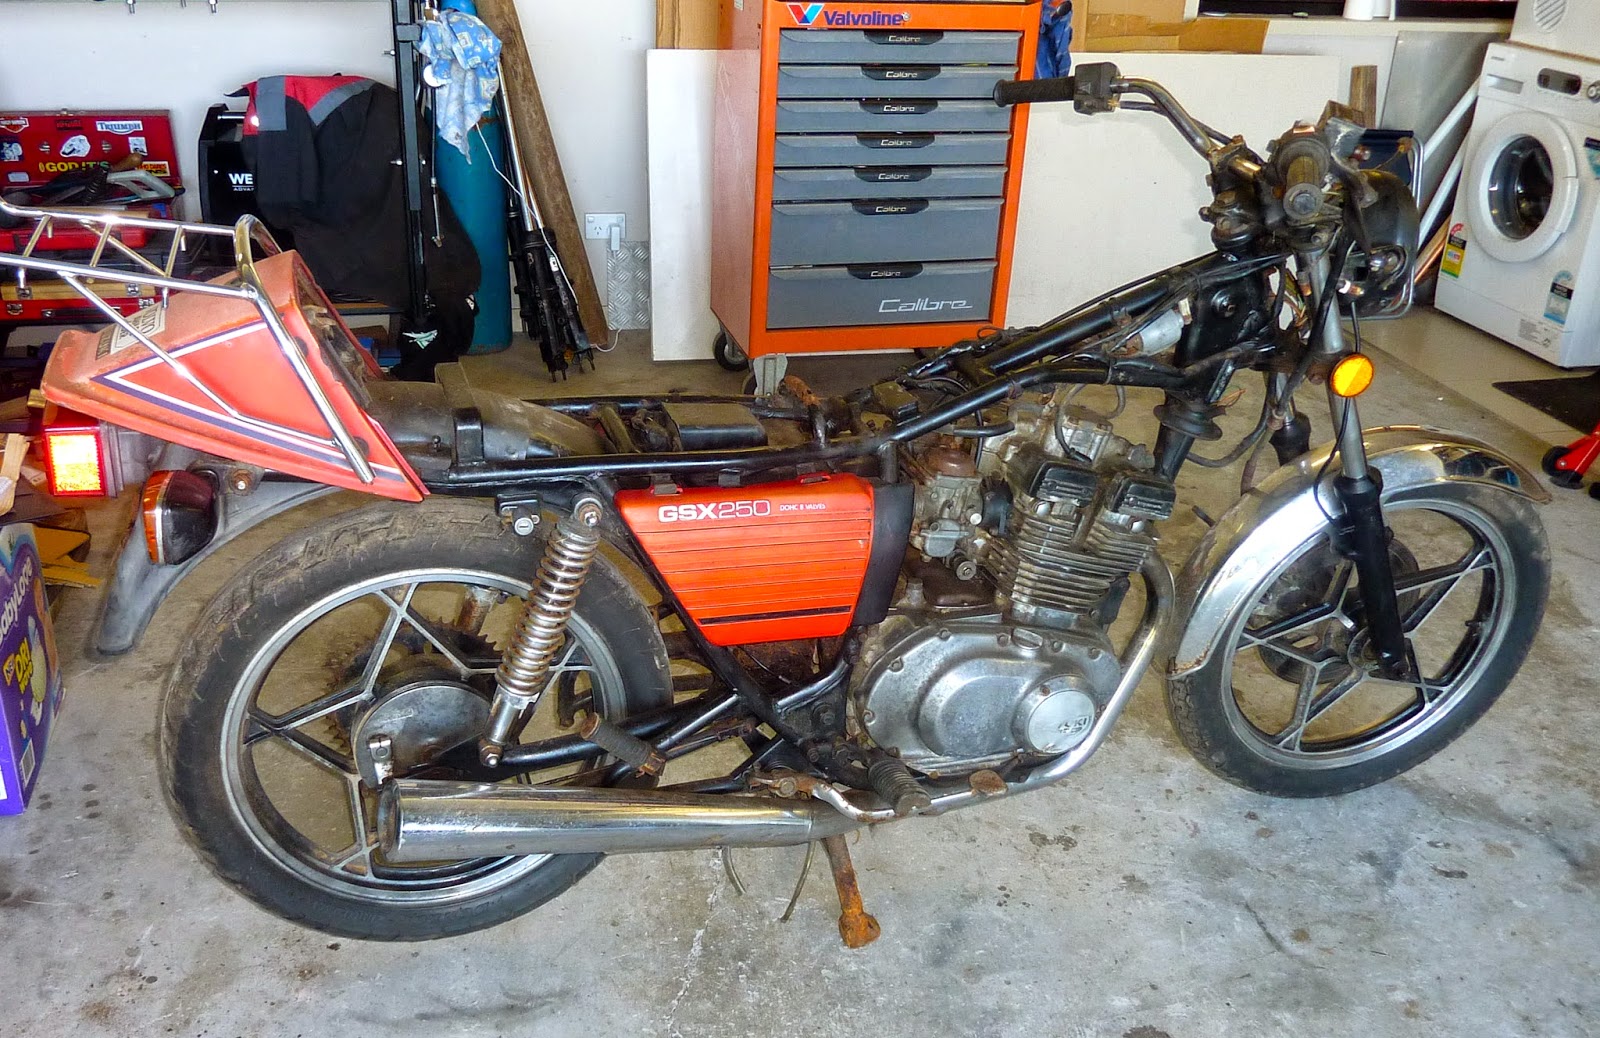
Honest, it followed me home...

There are still quite a few bikes that I want to own one day, mainly nineties sports bikes, a few really old bikes, and quite a few other odd ones that might just happen one day. One I've been after for quite a while, especially since seeing a lot of restomods on them, is the FZ750 - the half-faired, original version. To me, that thing is sheer beauty. 

When one popped up at my favourite bike breakers - Motogenn, in Burleigh, Gold Coast - I sent Paulo a text "Put my name on it! I'll take it."

Paulo insisted, "Come and have a look first."

"I'll take it!"

For those who don't know Paulo, he is an absolute gentleman, extremely helpful and who deals in mostly modern motorbikes. I've had several parts from him for the R1, amongst other projects, and his prices are the fairest around. Anyway, I popped over for a look, said yes I'll grab it, and came back with the money a few days later. She's gonna be awesome!

Loading it in the van was easy, Paulo had a decent ramp to get it in. It took two of us to push it in (it has no working brakes) and it just needed a good, confident shove. 

When I got it home, I had no such luxuries. I found a shitty old pallet that was nowhere near long enough and got ready to launch it on my own. Figuring this would end in disaster, I asked a neighbour to help me. She quickly, and quite rightly, declined but said her housemate, Corey, would love to. So, out comes old mate, barefoot and looking somewhat bewildered. I told him to jump in the van and hang onto the handlebars, and I would hold the back as it rolled down the pallet.
This would have been ok, had the pallet not given way under the weight of the back wheel which then left the bike jammed on its exhaust and on the edge of the van. Bugger! It just needed a good pull backwards to free it and, sure enough, with a good tug, we were mobile once more. 
And this is when things got exciting for old Corey. I didn't have much control after getting it moving and the bike shot out at great speed with Corey hanging on for grim death, straddling the front wheel, barefoot and quickstepping on a very steep, rough pallet. All I could think was we are going to drop this bike, but no, Corey hung on well and it stayed upright. He was bloody marvellous to be fair and, legend has it, he even had most of the splinters out of his feet by the morning.

Sunday, August 28, 2022

Replacing the Gear Change Spring on Swinging Arm BSA A10

Working on the A10...

Being pressed back into action for the first time in years, you sort of expect a few issues. The only thing that went wrong was the gear change return spring snapping, but did it leave me stranded? Not at all, shoot back home, take off the cover and order a new one. It was there the next day! 

So, without further ado... The outer cover comes off easily with four nuts to remove and three screws. The kickstart and gear change can stay attached at this stage and makes it easier to remove the cover. Also, the outer cover can be removed without affecting the gear indexing so makes this a very easy job.

With cover removed, you can see the offending item sticking out behind the gear change mechanism. The split pin, visible here, can stay in place, just remove the tiny circlip from the outer side of the cover and the whole unit will slide out from this side, revealing the spring.


Monday, October 13, 2014

An Ability To See The Best In Everything - Exuding Positivity.

Taking the risks.
It's fair to say I've taken a lot of chances on eBay, and I love it. Whacking a bid on, finding out you've won and seeing how good it turns out. Great fun.
A good mate of mine never did so well; everything he seemed to buy would turn into a massive dilemma. I remember him receiving a box of RMX250 bits years ago and, subsequently, chucking it all, part by part, into the bin at work. How we laughed; no hang on, that was just me. Well now Harvey, time to get your own back.

Putting it down to experience.
The GSX750 I should be working on was a rough-as-f@#k pig when I first got it, but if you look at projects like that, you'd never get on with them. So I try to look at the best bits and work from there. Dig deep and crack on.

So...
Today I bought a "parts bike" with an engine that "turns over", and I've been digging deep ever since!

Good bits - it's a Suzuki.

Bad bits - too many to mention.

Redeeming features - the guy selling it had wads of other parts, including straight forks to fit the GSX750. Every cloud, my friend, every cloud.


Tuesday, March 16, 2010

Seat Covers, Bases, Rust and Ruin.

I ordered a new seat cover off Ebay because I just happened across it ,and thought I'd better snap it up (that's me all over!). I'm certainly nowhere near that stage yet but at the end of the day - it doesn't matter what you do first.


But maybe I should have had a better look at the seat before splashing out on a new cover!


Time to get the old cover off and check that seat base.  Looking a little corroded!
 

The staples are very rusty but, with gentle leverage, came out of the plastic strips that are rivetted to the seat base.  Any sharp bits left were taken out with a long-nosed pliers.


So, as the cover came off, the donkey was able to see the carrot.

 
Unfortunately, the base was worse than I first thought.  Not impossible but it might be better to source another seat rather than try and repair.  I'll have a think about this one.
 

The foam, which I thought was in bad shape, didn't turn out to be too bad.  A good wash and I think it's reusable.  Yes I'm serious.  It's still nice and soft and the rough sections shouldn't show once the seat cover is fitted.  I've seen worse.

Sorry if you thought that there might be a shiny new seat sitting at the end - that's how it goes sometimes.  Half the battle when restoring bikes is maintaining the motivation when the rust crumbles in your hands - oh, and money, money's always a problem!

Spend time thinking about the solution - not the problem.

Thursday, January 14, 2010

Wilcomoto Motocross and Enduro Bikes.

Anyone heard of these?

Air-cooled, 500cc two-stroke, motocross and enduro bikes. Built in Herefordshire, England in the early 1980's by the Wilcox brothers. 

Innovative in their day, featuring single-shock with remote reservoir mounted on the swingarm. Front hub and disc is one unit, cast out of Magnesium, with the disc hard-chromed, and the wheels were built locally in Ross-on-Wye (possibly by Gordon Lucas). The engine was lightly based on the YZ465 lump and is well-engineered, with what looks like a provision for a power-valve cast into the barrel. The reed block itself is huge, with eight sets of petals! 
From what I've heard, it was let down by an overheating rear shock, but information is scarce. If you know more, please get in touch.


Rare as you like and something I'd love to get finished. I do have an engine, and various cycle parts, so it's a start!

Anybody got any information on them? I'd love to hear about your experiences or post your pictures up if you have some.

In the meantime, check out my Wilcomoto website.