
And he finally did it.
A conversation with a couple of super-quick, R1-riding ladies the other weekend, both ex-CBR600 riders, convinced Bry that a couple more teeth on the rear sprocket was the way to go. Now the CBR6 is no slouch as it is, but that didn't matter, his mind was already ticking over the pros and cons of this cheap performance trick.
Hmm, more acceleration... just what I need to beat Dave's R6...
He checked the gearing on his bike to find out he was already down one tooth on the rear sprocket to start with. Strewth, slower than standard!
Straight to the computer to peruse eBay, and a 520 DID X-ring chain, 15 tooth front sprocket (one down from standard) and an aluminium 44 tooth rear sprocket (one up from standard) was ordered without delay.
Then I was sworn to secrecy - until now.
The heat was angry that day my friends.
'Twas a Saturday morning. My bike was in for new tyres (Rosso II's again) so I hitched a lift on the back of the R6. We had a short blast around the mountains but, by 10am, it was just too hot! Home beckoned, I picked up my bike and we all headed out, trying to keep cool. Taking it steady on the new tyres, I followed Bryan back to BikeTech7 headquarters and so began Sprocketgate.
Now what are we actually achieving?
Altering the gearing changes many factors, depending on what you need - faster acceleration, or a more mellow cruising speed.
Now we want more excitement. The cheapest method, dropping teeth on the front, makes it easier for the engine to turn the rear wheel just like the derailleurs/multi-sprocket setup on a push bike. You can accelerate faster, but need to change up through the gears more quickly because the engine, or your legs, will run out of revs. One tooth is probably enough on the front. Anymore than that and the chain gets a tough time because of the smaller diameter of the sprocket itself. It'll also tear into the rubber cushion mounted to your swingarm. But you can always go up a few on the back (three teeth on the back is the equivalent of one on the front).
For a more detailed analysis on how the gearing will effect your bike, go to www.gearingcommander.com Here you can input your make and model and see exactly what difference in speed you'll see. Brilliant website!
How to change your chain and sprockets
2006 CBR600RR
OK, get the sprocket cover off. Two 8mm headed bolts and you've got access to the sprocket. Held on by a 14mm headed bolt and a washer, it's easier to use an airgun to remove the bolt. Otherwise, get a heavy fella to stick his foot on the brake pedal and use a ratchet. Always undo this while the chain is still in one piece (it's much easier to use the rear wheel to hold the sprocket firmly).
OK, get the sprocket cover off. Two 8mm headed bolts and you've got access to the sprocket. Held on by a 14mm headed bolt and a washer, it's easier to use an airgun to remove the bolt. Otherwise, get a heavy fella to stick his foot on the brake pedal and use a ratchet. Always undo this while the chain is still in one piece (it's much easier to use the rear wheel to hold the sprocket firmly).
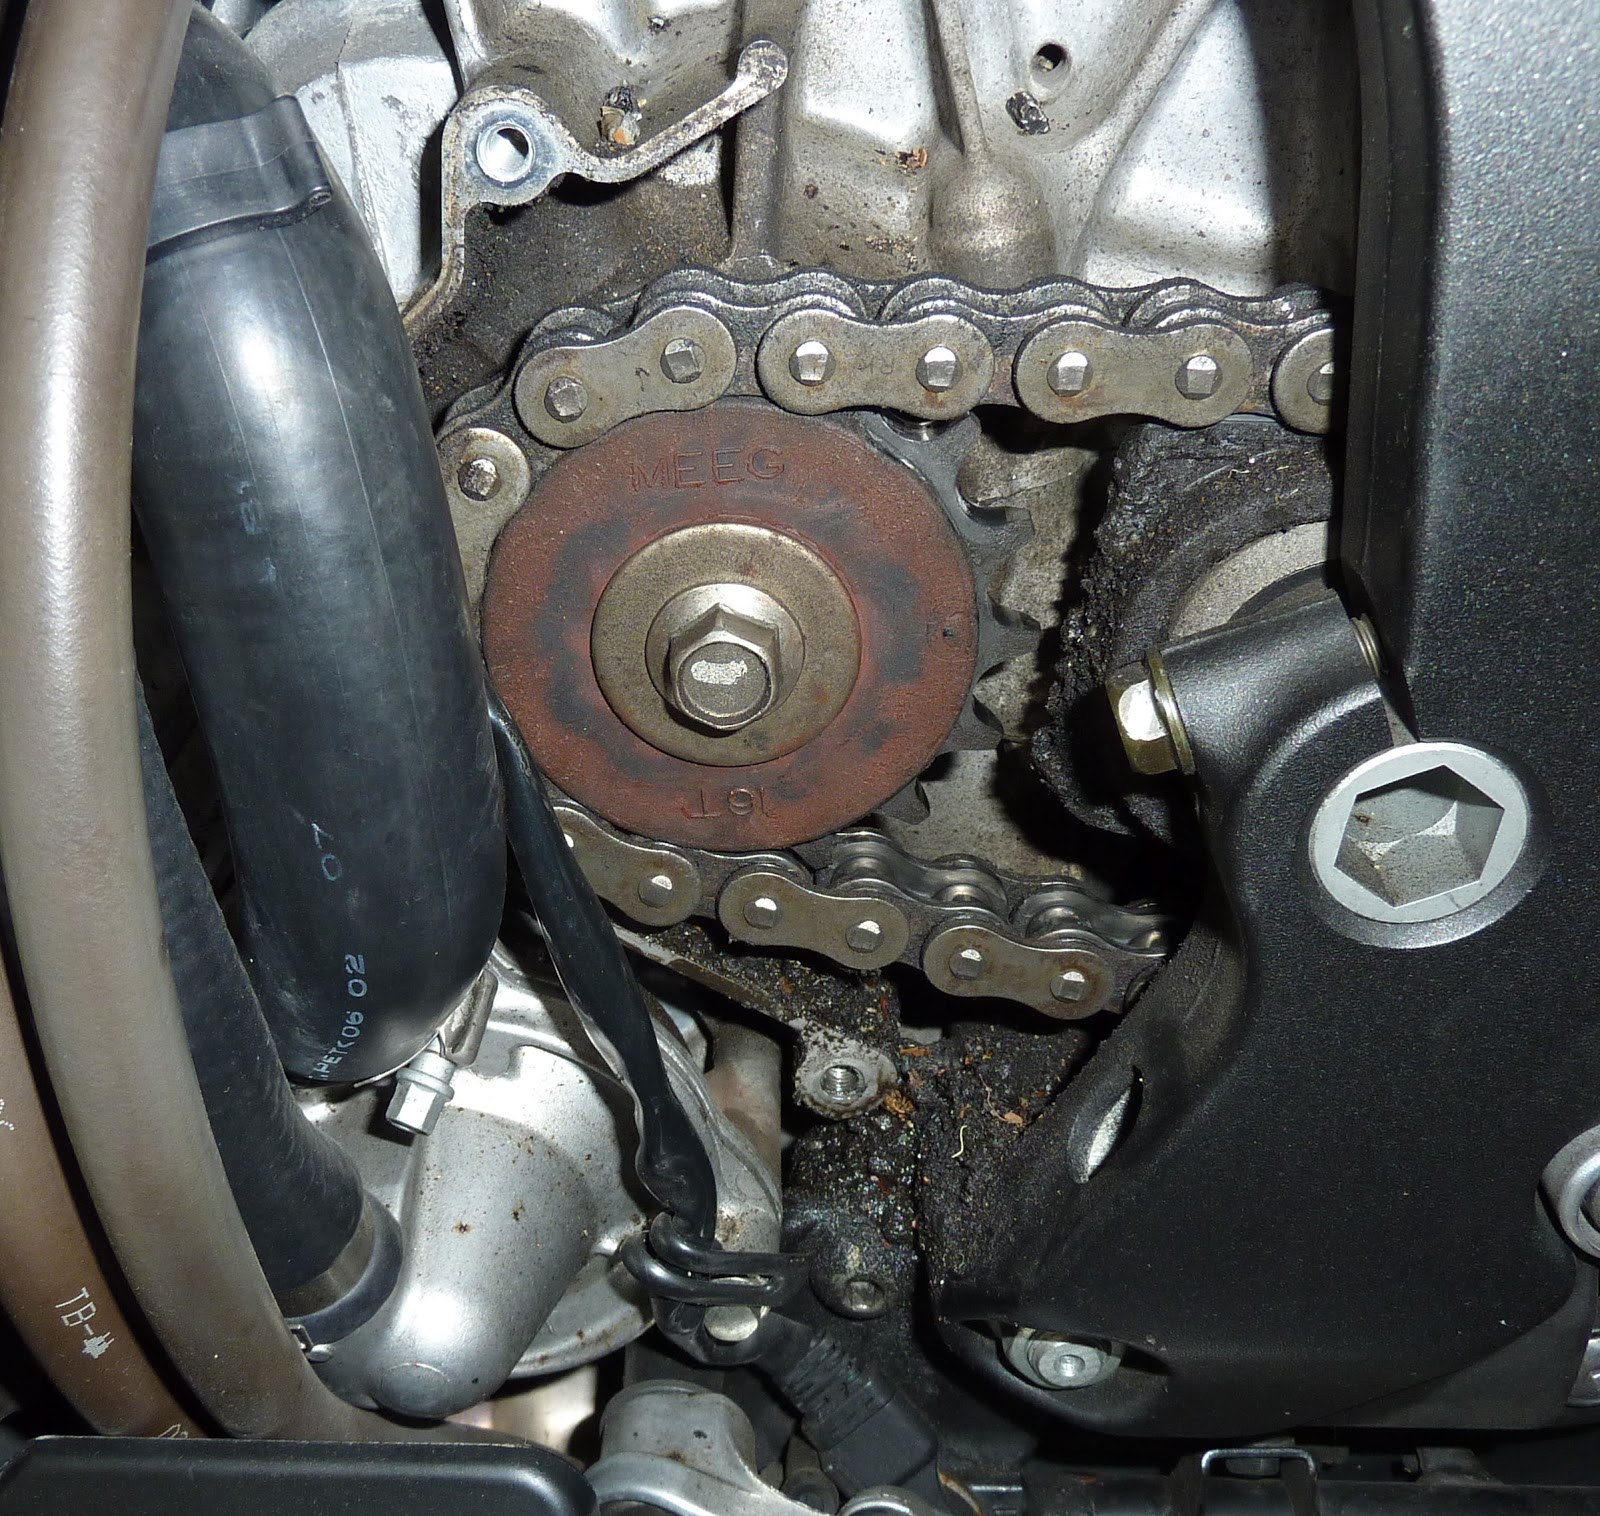
Now the front sprocket bolt is loose, you can break the chain. Don't use your chain breaker to push the pins through until you've ground the tops off. As strong as they are, you'll end up ruining your breaker. A couple of seconds with an angle grinder will sort any nonsense.


Just grind the tops of the rivets off to leave a flat plate, and you're ready to push the link pins through. A chain breaker will make this job a lot easier without causing damage to anything else on the bike.

Fit the chain breaker. The link is still hard to remove even with the rivets ground down. This tool breaks and rivets chains. Great piece of kit.


Now it's time to remove the rear wheel.

And undo the sprocket retaining nuts.

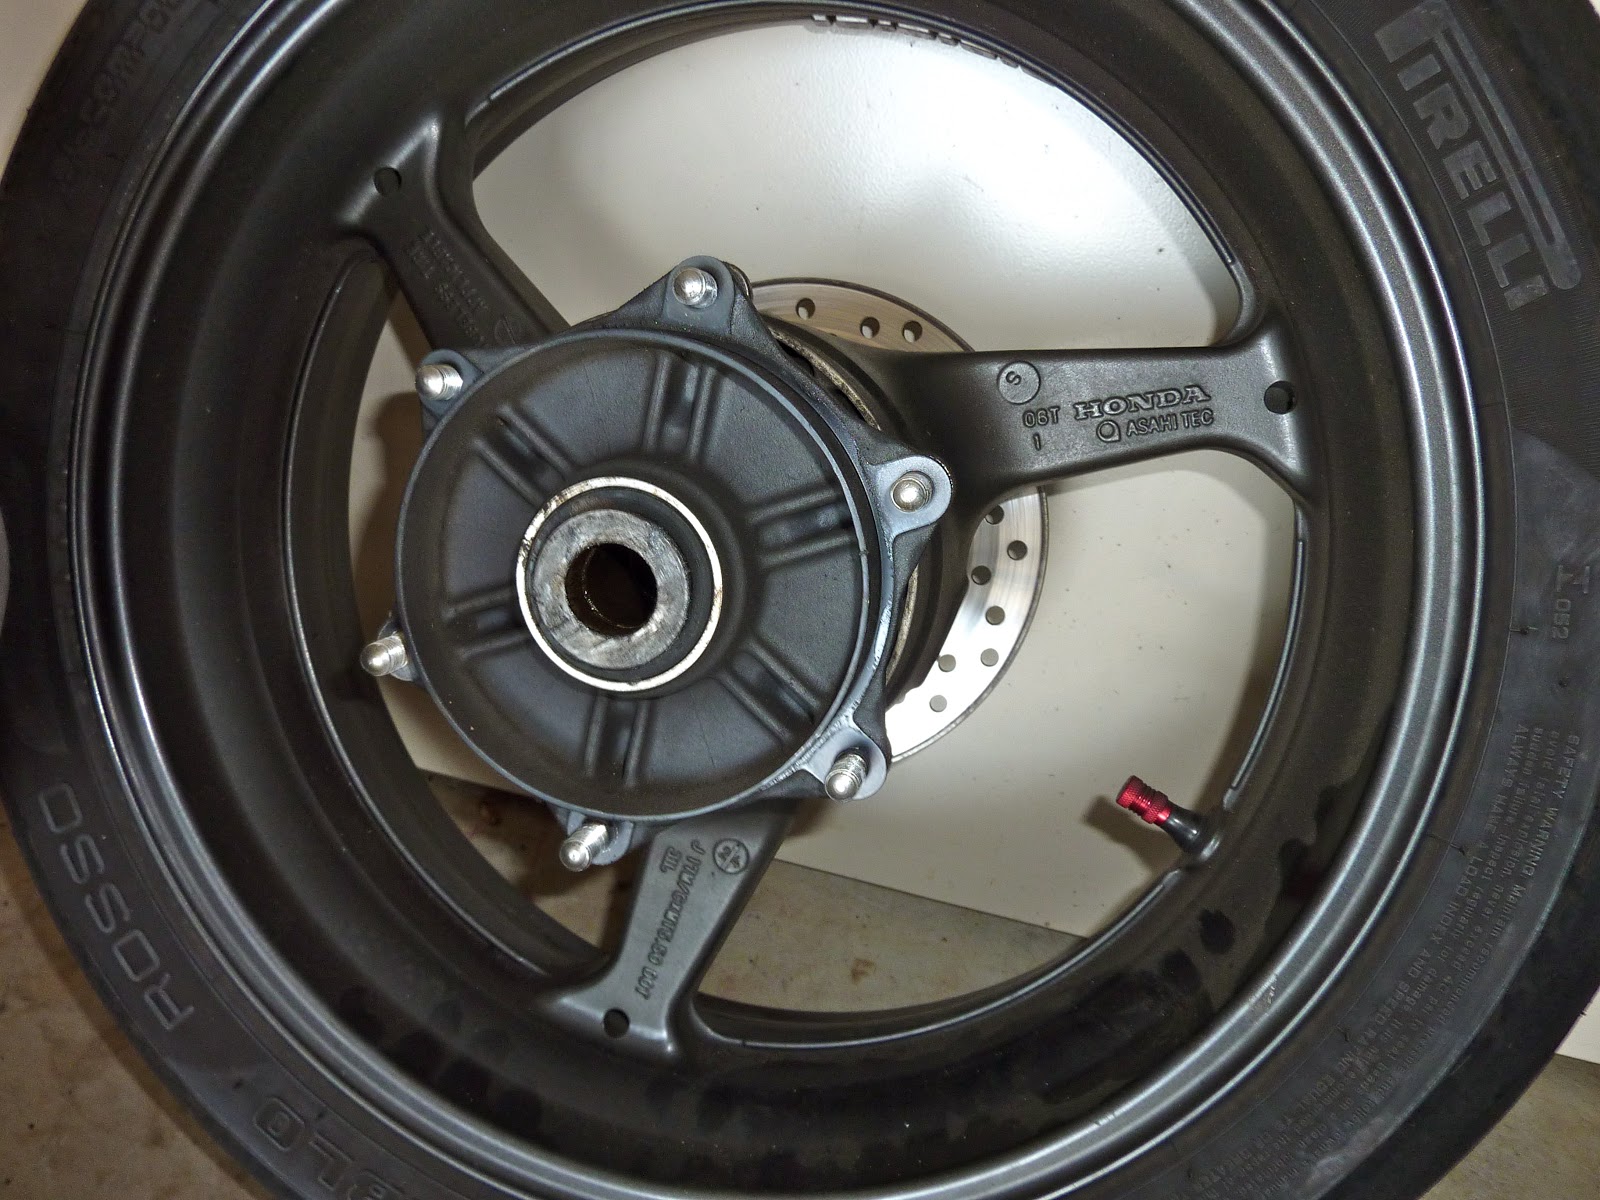
This is still in pretty good nick. We'll hang onto this one.

Now remove the, already slackened, front sprocket bolt and washer. On the CBR, the bolt and washer doesn't hold the sprocket tight. It's merely there to prevent it falling off the shaft. You will notice slight side play on the sprocket itself. The rusty colour in the splines is a sure sign that it's constantly moving.
The part with MEEG and 16T embossed on it is the rubber damper. Aftermarket sprockets don't have this. (Not the ones I've used anyway.)

Time to clean up the years of grease and muck build-up.

WD40, a rag and an air blower make short work of this.

And the new sprockets can go on.


The smaller 520 chain (standard is 525). Smaller size equals less drag which means faster baby, FASTER!

Wrap it round the front sprocket and fit the new rivet link with the supplied X-rings and grease. Use plenty because, once sealed, you're not going to be able to get anymore grease in there.
It's a good idea to use a vernier caliper to measure the width of the other chain links before pushing on the new side plate. That way you can get it exactly right. Too tight will cause binding up on the sprocket and O/X-rings. Once the width is the same you can burr the ends of the rivet link over.

Thread lock applied to the bolt and then tightened. There's a fair bit of side play with the new sprocket because it doesn't have the damper rubber fitted like the original. Apparently, this is quite normal on a CBR.

Success. The rivet link can be seen here (hollow pins). Just a quick chain adjustment and she's ready to go!


So what'll it do mister?
I'm happy to say it's now much more responsive and, ultimately, more fun. Just given it a quick crack around the mountain roads and this mid-sizer now feels like it's punching above its weight. This is such a cheap performance mod.
We may have fitted a complete set this time, but if your chain and rear sprocket are still in good condition, you can just fit a different sized front.
Drop a tooth and you have an instantly quicker bike for twenty bucks. Get in!
But it begs the question. What the hell do I ride a thou for? Oh yeah, to keep up with those R1-riding ladies from Beaudesert!
No comments:
Post a Comment