
But this is the thing, the 6Sigma jet kit was ready to be fitted; the carbs were looking a little worse for wear; they needed a damn good clean; and I bought a damn cheap ultrasonic cleaner.
That last point, and my grammar, was a problem...
Now the bike ran ok - ok it didn't idle properly (but then it was in a pretty bad state), but it gave me enough of an inkling that most of it was pretty good inside. And that's half the battle. If you have a non-runner, "do it up" and find something's not right afterwards, it can be hard to pinpoint the problem. At least now when it all goes tits up, I'll know it's probably something to do with a part I've stripped - like the carbs.
Initially, they looked like this.
Dirty on the outside and, due to an air filter that was long overdue for replacement, not too good inside either. So onto eBay for an ultrasonic cleaner.


Ultrasonic Cleaners - every man and his dog seems to have one nowadays.
But back in the day there were no such luxuries (at home anyway). It used to be case of stripping them, cleaning everything you could get at, and finally wanging them back together, hoping they were clean enough inside to run correctly... which was not always the case.
A few years back, an '83 GS850 I owned developed a slight misfire at low throttle openings (carbs stripped and cleaned whilst restoring it), and it turned out to be the tiniest piece of rag/lint stuck in a pilot jet. With said piece blown out, all was good ever after.
But back to these ultrasonic cleaners - buyer beware is a good term of phrase for the following reasons:
- It will look huge in the photos on eBay - big enough to fit a small engine in, but in reality you'll be lucky to get the float bowl submerged.
- When they say it has a 1.5L capacity, it will probably only hold items as thick as a biro. I'm not joking, check their measurements and measure it out yourself before buying. To fit carbs in, you need a large cleaner and the price goes up accordingly.
- I was under the impression you would see bubbles lifting off the items in the cleaner when it was doing its thing. Hmm, not so. I tried it on jewellery, glasses and other small items, but was basically unconvinced. I got a full refund in the end and put it down to experience.
A decent can of carb cleaner, toothbrush and a compressor/air blower are more than adequate if you're prepared to spend a bit of time doing it properly. It's all we had before!
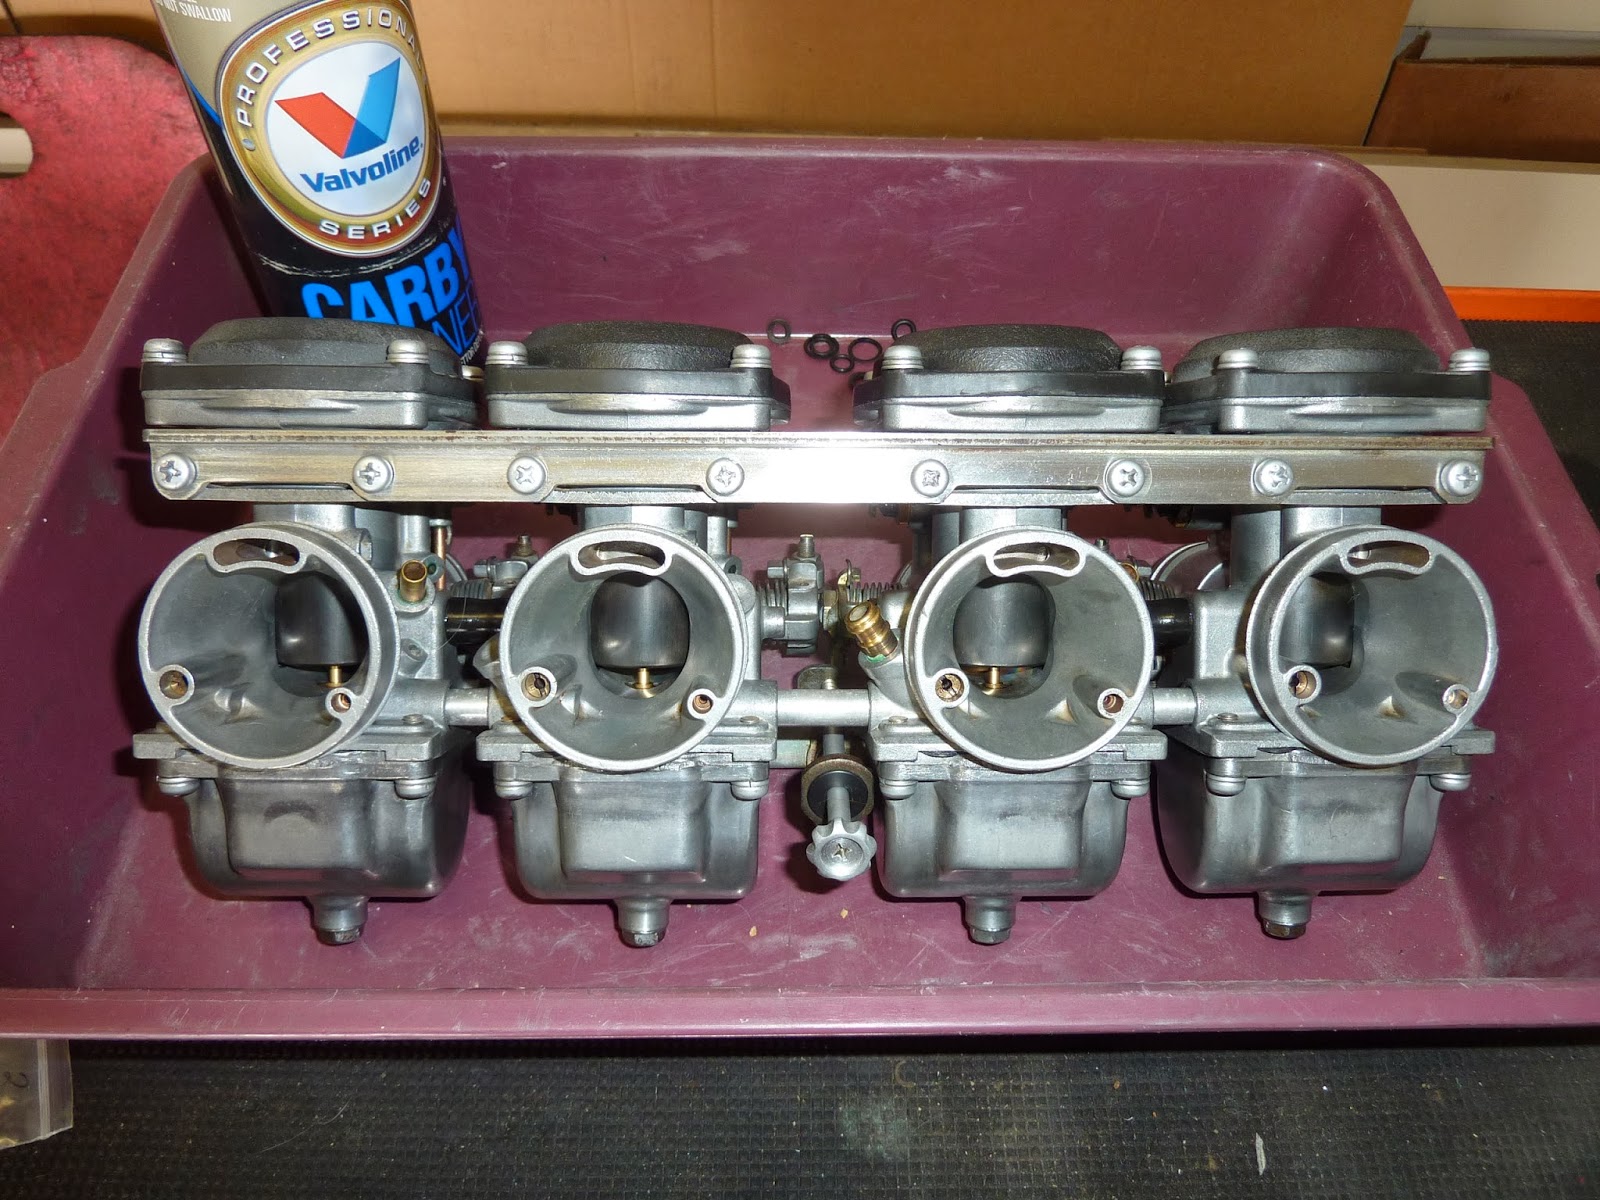
Banks of Carbs
First thing's first, they need to be pulled apart. This is the time to take plenty of pics from all angles. It makes it so much easier when reassembling. They aren't anywhere near as bad as you'd expect to pull to pieces, just take it steady and take care with the screws, they'll round off easily. An impact driver is your friend here, but try not to smash the things to pieces.
First things first, before you unscrew the two steel strips holding them altogether, the choke actuating bar needs to be pulled out. Take a pic, undo the grub screws locking the actuators to the bar, and slide it out.
First things first, before you unscrew the two steel strips holding them altogether, the choke actuating bar needs to be pulled out. Take a pic, undo the grub screws locking the actuators to the bar, and slide it out.

No.1 carb on my GSX has had a different screw put in. A previous owner probably lost, it or stripped the thread. This one is much bigger and wasn't tight against the rod. This has made the lever skew and put more pressure on the rod and the carb where it runs, cracking the carb in the process. Marvellous.
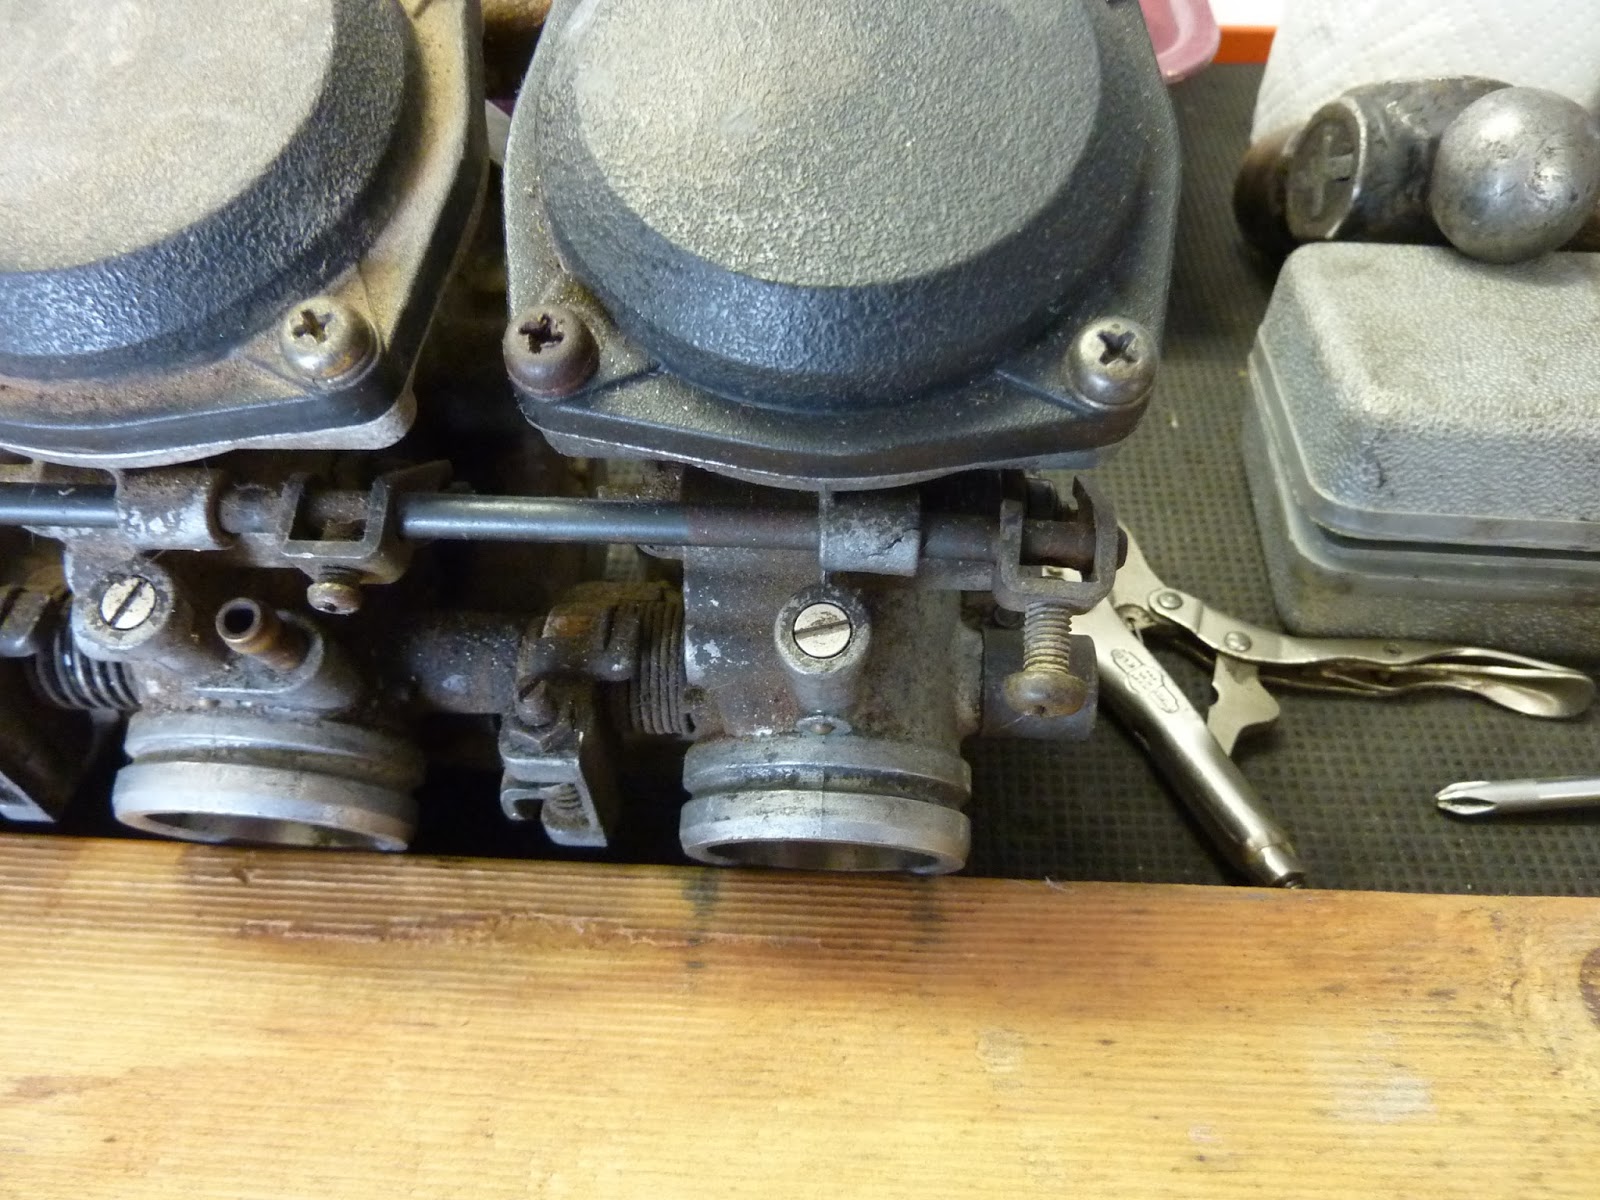
This is the end the cable attaches to. A couple of days of this being apart and I'll have forgotten how it all goes back together. Digital cameras are great!

You can just see the crack in the carb where the rod runs here (covered in dirt). It's not horrendous and will work fine once the lever is tightly secured to the rod.

And that, is as simple, as that.


Time to whip off the two steel strips that hold them altogether. You'll probably find that some of these screws will come out as if fitted by highly-trained engineers, with copious quantities of anti-seize, lovingly torqued up to the perfect tension. Enjoy that bit because all the others will be utter bastards! C'est la vie.

Vise-grips are your friend!

One stubborn screw just won't undo. The vise-grips are slipping so we help it by moving the steel strip the same way we want to undo the screw. The friction between the head of the screw and strip help the vise-grips move it, and it finally comes undone.


Sorted!

Carbs all numbered for easy ID. I kept four takeaway containers to put all the parts in so they didn't get mixed up. If you're waiting for new O-rings or jets, you need to keep everything together and organised.

Apart at last.

Thirty years old and the O-rings just fell apart. Air leaks are a primary cause of rough running/poor idle. Replace every O-ring while they're in pieces.

Time to pull the carbs to pieces. They're pretty simple in fairness, but keep the work area clean so anything that drops out (washers, springs etc.) stay where you can see them. The pics start with the carb top, slide and diaphragm. Great care should be taken with this because those diaphragms are thin, and bloody expensive as they only come complete with slide!


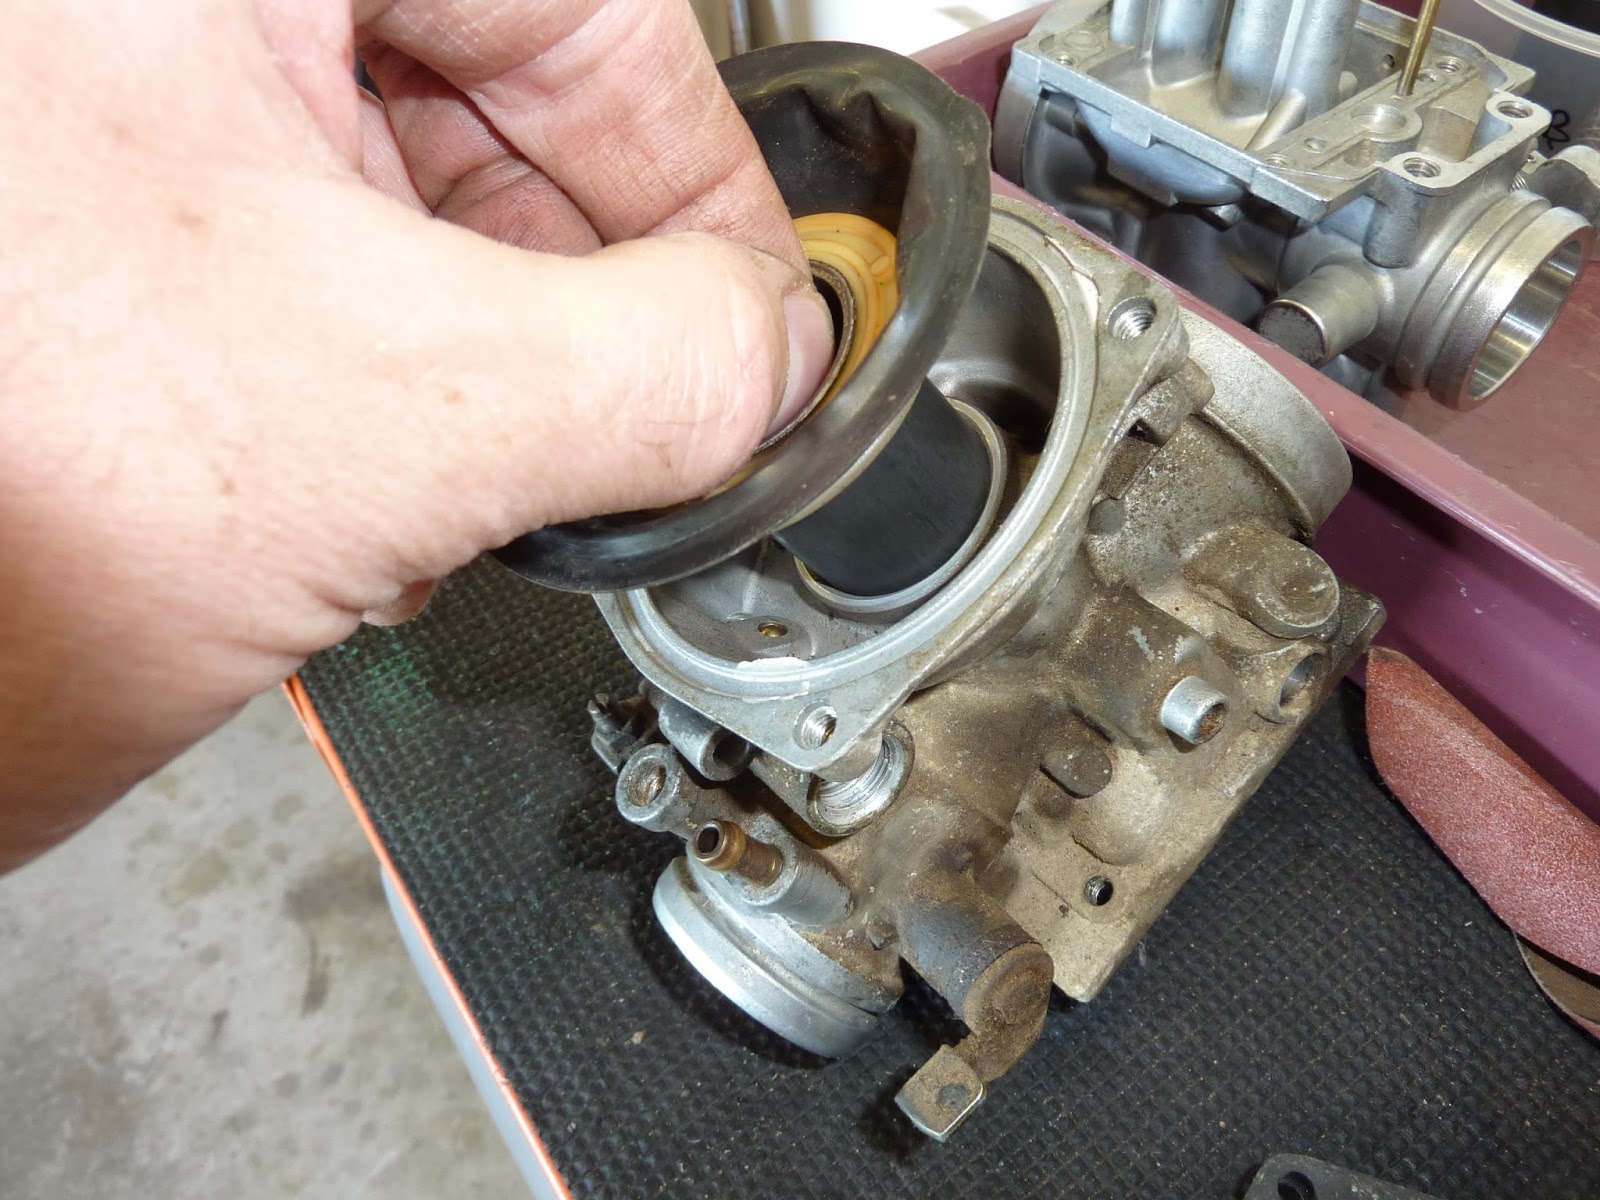

Clean everything gently and put into one of the containers. The needle can stay in the slide until adjustments need to be made.
When removing the float bowls, tap them with the plastic handle of the screwdriver once the screws are out. It usually helps to free them from the gasket. Hopefully the gasket will stay in one piece.

The little plug covering the pilot jet pulls out easily enough. It'll probably shrink a little once it's been out of petrol for a while, but these still feel a good fit.

Uber Important!
The screwdrivers you use on the jets need to be a tight fit in the slot. It doesn't take much to round off a brass jet, making it bloody hard to remove afterwards. Good kit makes all the difference and saves you major grief.


Come to daddy!

Not too bad for thirty years old. It's probably been out a few times already.


The float - and yet more care needed. The GS550 sat in the garage came with carbs already stripped, and the small posts that hold the float itself have been broken off on a couple of them. Doh!
A small socket to support the post when tapping out the pivot is ideal, but I decided to use a piece of box-section and drill a hole in it. This gave better support along the length of the post.
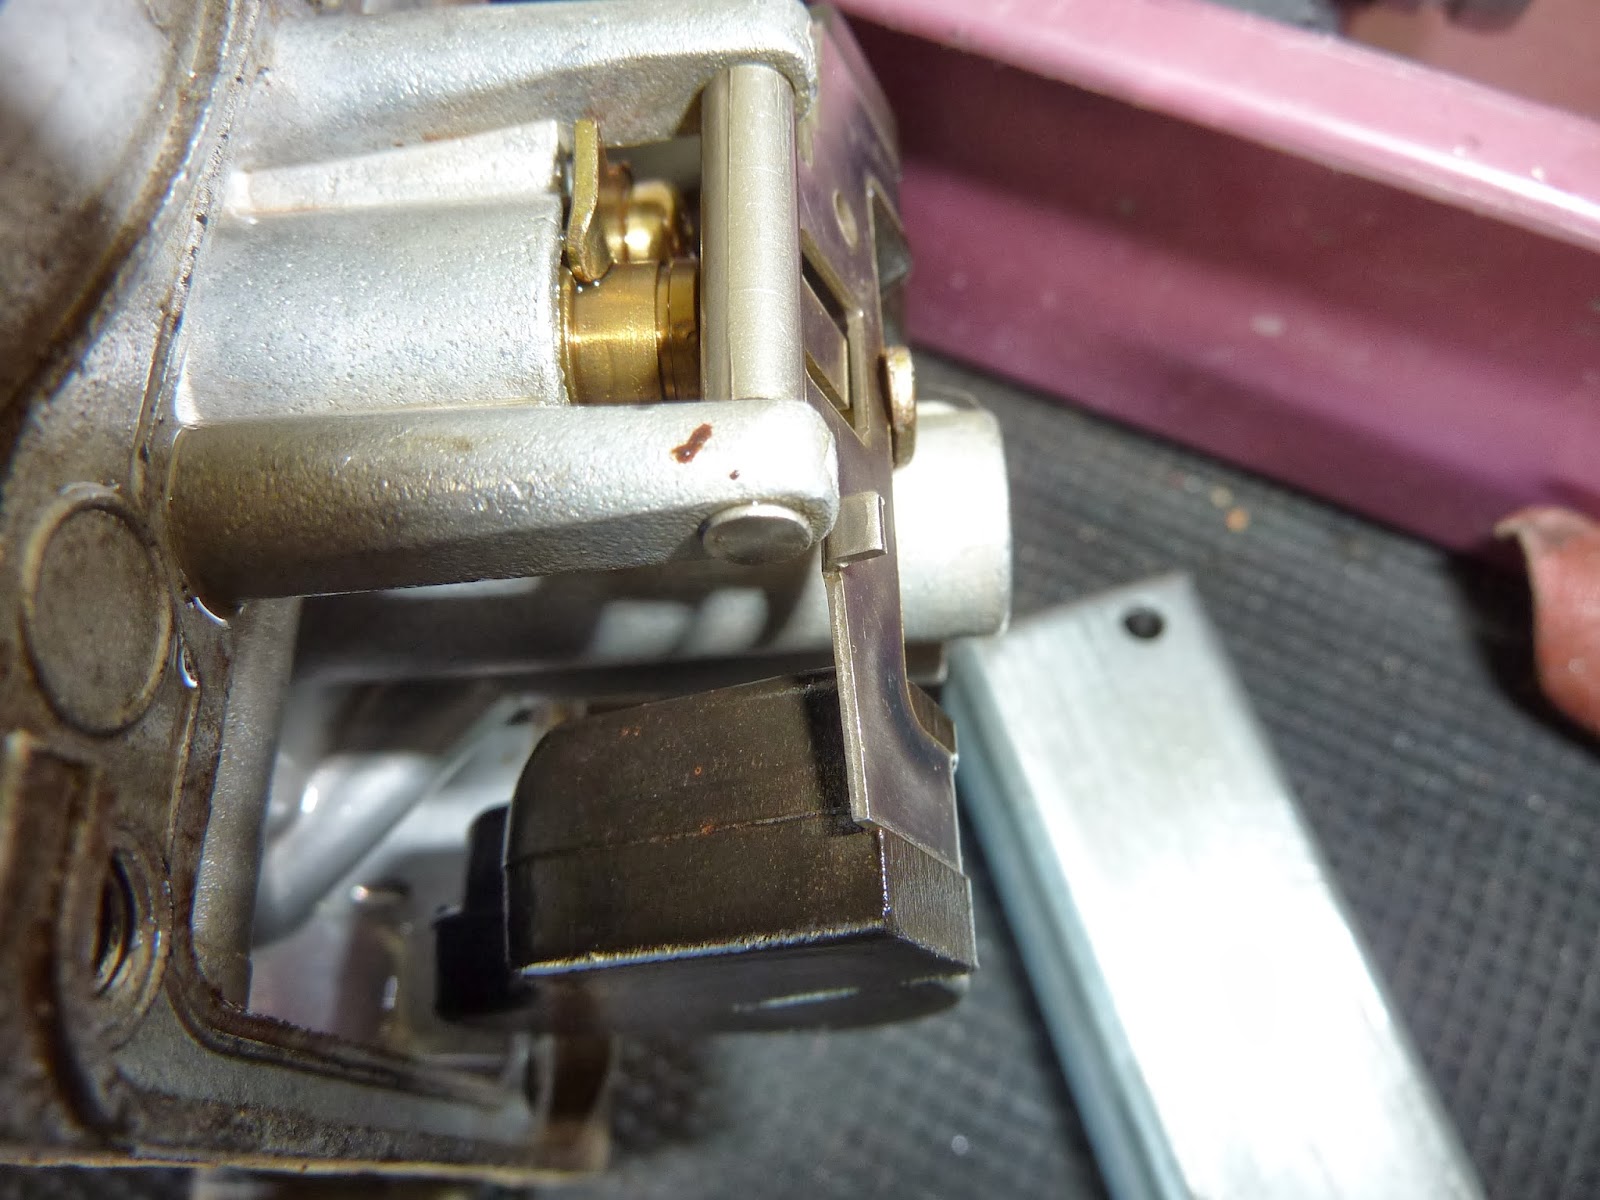


Using a thin punch to tap out the pivot.

And breathe.

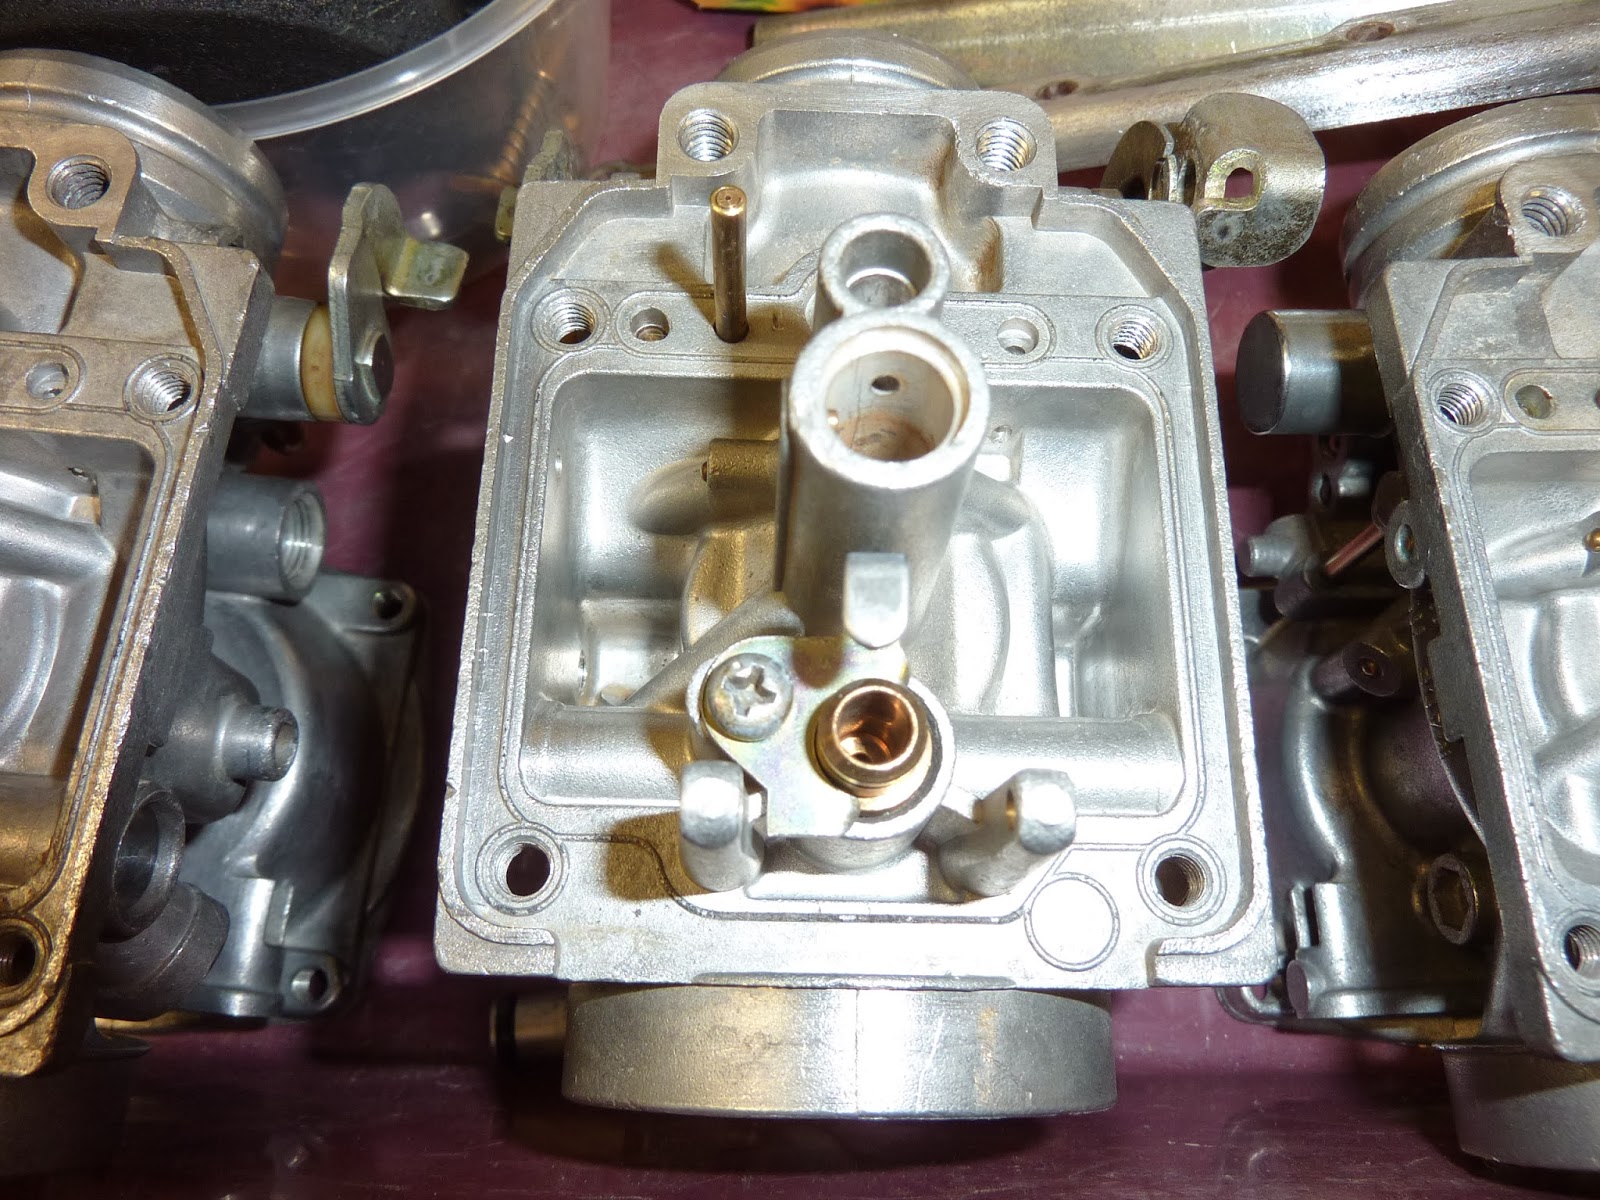
Once the float and needle are removed, the actual housing can be pulled out to replace the O-ring. Just unscrew the brass coloured bracket, visible in the above pic behind the float, and hey presto. The emulsion tube sat within the main jet housing will tap out through the top of the carb. Loosely screw the main jet back in, tap it gently with the handle of a screwdriver and the tube should move easily enough.
The only other things to remove are the choke plunger, the mixture screw and the tiny air jet in the carb inlet. Then it's time to start washing it down. The dusty, muddy stuff on the outside was first hit with water, washing up liquid and an old toothbrush. Then I used carb clean, a scotch pad and a small copper wire brush along with an air blower to try to remove dirt from the internal airways.


I replaced all the O-rings when reassembling so I'm hoping to have a good working set of carbs when this all goes back together. The 6Sigma kit went in too (see earlier post) and, overall, the carbs look pretty damn good. Can't wait to try them out now.

Vise-grips are your friend!
One stubborn screw just won't undo. The vise-grips are slipping so we help it by moving the steel strip the same way we want to undo the screw. The friction between the head of the screw and strip help the vise-grips move it, and it finally comes undone.
Sorted!
Carbs all numbered for easy ID. I kept four takeaway containers to put all the parts in so they didn't get mixed up. If you're waiting for new O-rings or jets, you need to keep everything together and organised.
Apart at last.
Thirty years old and the O-rings just fell apart. Air leaks are a primary cause of rough running/poor idle. Replace every O-ring while they're in pieces.
Time to pull the carbs to pieces. They're pretty simple in fairness, but keep the work area clean so anything that drops out (washers, springs etc.) stay where you can see them. The pics start with the carb top, slide and diaphragm. Great care should be taken with this because those diaphragms are thin, and bloody expensive as they only come complete with slide!
Clean everything gently and put into one of the containers. The needle can stay in the slide until adjustments need to be made.
When removing the float bowls, tap them with the plastic handle of the screwdriver once the screws are out. It usually helps to free them from the gasket. Hopefully the gasket will stay in one piece.
The little plug covering the pilot jet pulls out easily enough. It'll probably shrink a little once it's been out of petrol for a while, but these still feel a good fit.
Uber Important!
The screwdrivers you use on the jets need to be a tight fit in the slot. It doesn't take much to round off a brass jet, making it bloody hard to remove afterwards. Good kit makes all the difference and saves you major grief.
Come to daddy!
Not too bad for thirty years old. It's probably been out a few times already.
The float - and yet more care needed. The GS550 sat in the garage came with carbs already stripped, and the small posts that hold the float itself have been broken off on a couple of them. Doh!
A small socket to support the post when tapping out the pivot is ideal, but I decided to use a piece of box-section and drill a hole in it. This gave better support along the length of the post.
Using a thin punch to tap out the pivot.
And breathe.
Once the float and needle are removed, the actual housing can be pulled out to replace the O-ring. Just unscrew the brass coloured bracket, visible in the above pic behind the float, and hey presto. The emulsion tube sat within the main jet housing will tap out through the top of the carb. Loosely screw the main jet back in, tap it gently with the handle of a screwdriver and the tube should move easily enough.
The only other things to remove are the choke plunger, the mixture screw and the tiny air jet in the carb inlet. Then it's time to start washing it down. The dusty, muddy stuff on the outside was first hit with water, washing up liquid and an old toothbrush. Then I used carb clean, a scotch pad and a small copper wire brush along with an air blower to try to remove dirt from the internal airways.
I replaced all the O-rings when reassembling so I'm hoping to have a good working set of carbs when this all goes back together. The 6Sigma kit went in too (see earlier post) and, overall, the carbs look pretty damn good. Can't wait to try them out now.
No comments:
Post a Comment