
Finally got some time to crack on with the wiring and battery box. It's been bugging me for a while because I wanted the loom to look perfect, but sometimes you just need to make a start and fix any issues later.
I'm still unsure on what sort of speedo/tacho combination I'm going to use too. I'd like two separate units to mimic the typical sixties/seventies bikes, but I have a certain budget too. The modern digital versions get very expensive when you go for quality versions. And although there's plenty of Chinese versions on eBay, do they actually work for more than ten minutes? Decisions...

Mounting the electrics.
I know a lot of custom bike builders will get rid of the original wiring and put in only what they actually need. I can see the benefits of this if you don't need a lot of the original lights etc., but I'm going to be running pretty much everything as standard so I'm going to stick with the original for now. It's been hacked about already so I'm just repairing where necessary. Soldering is frowned upon, because vibration will break joints, so I'll try to keep that to a minimum and crimp if possible. But having seen the cheap crimp connectors fail plenty of times too, it's hard to know what's best sometimes.
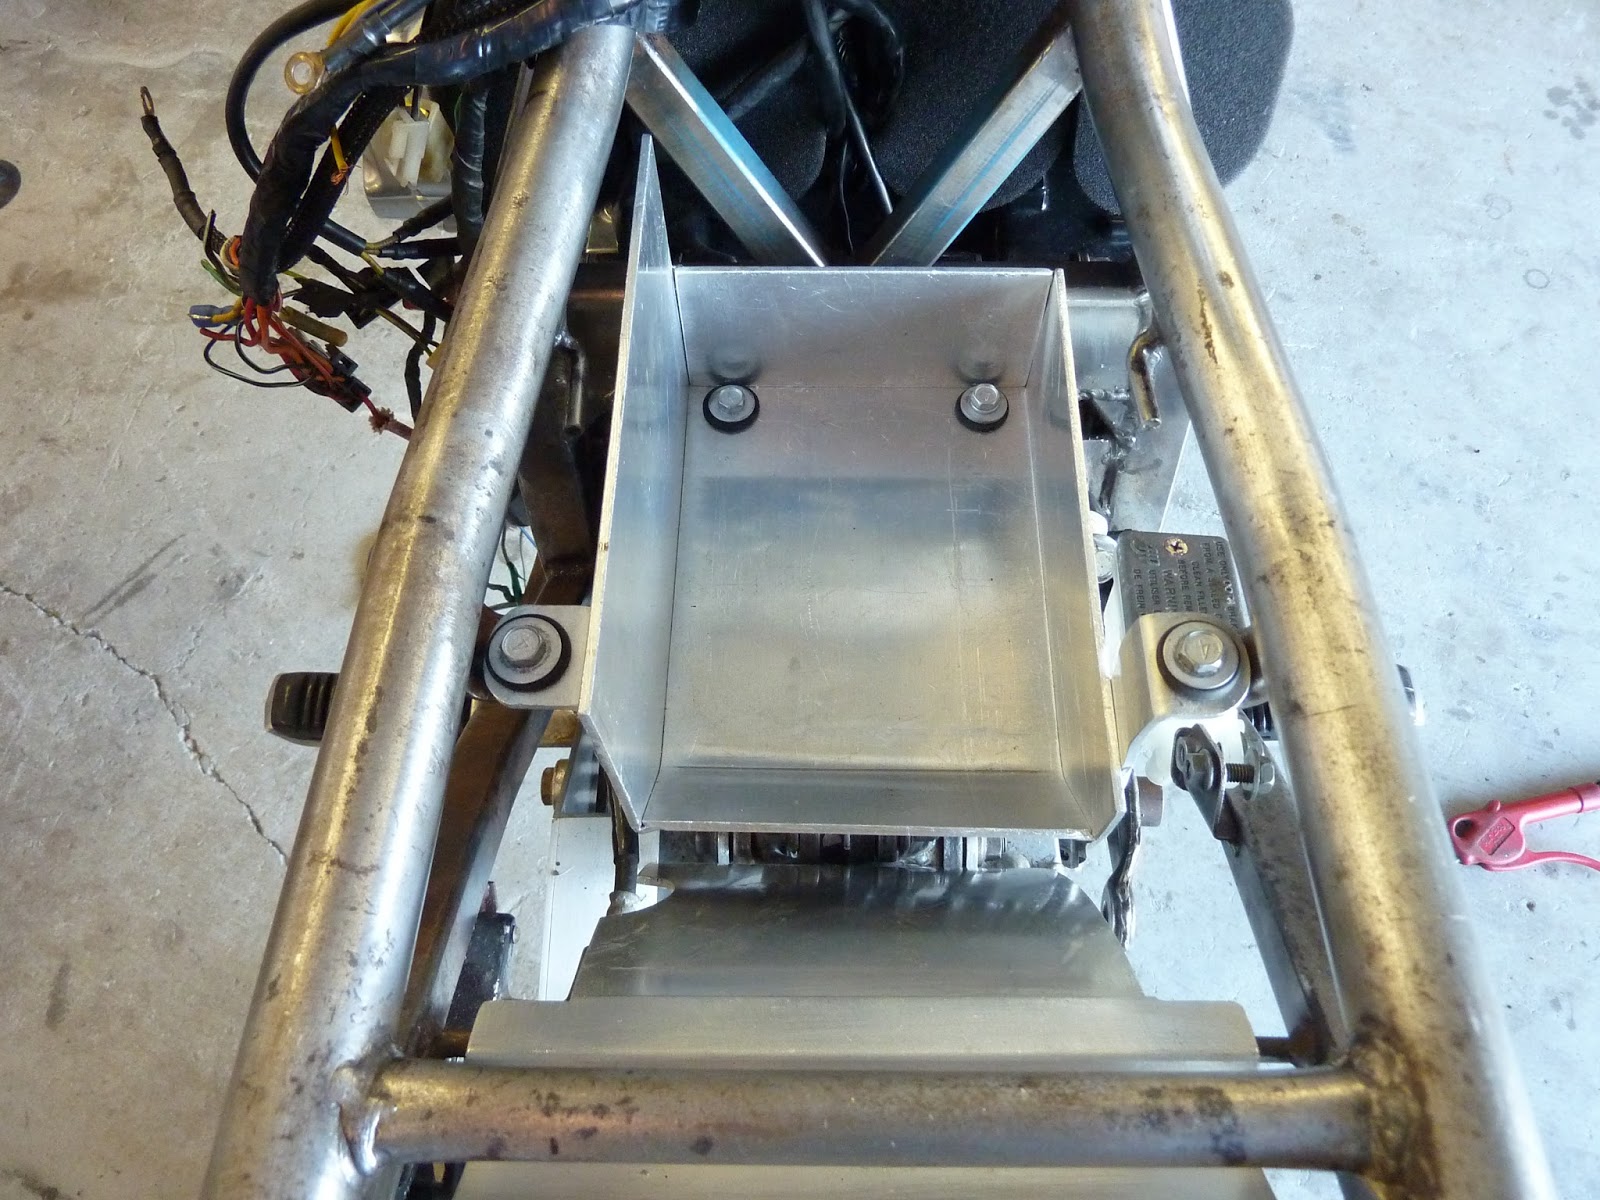
The CDI, fusebox, starter solenoid and regulator all used to live on a small steel plate on the left side of the bike. How they got all that in so neatly is amazing. I have far more space at my disposal but it still seems hard to put it all in so it looks good. Because I'm using the old battery off my GSXR1000, I thought I'd make up a new battery box, out of aluminium, which could incorporate all the electrickery.
I'm not designing something on paper and I've no CAD to work with - I'll start knocking it up and see where I end up. If it works out great, if I need to add something/start again then so be it. So with the trusty jigsaw ready to go, I made some shapes.

Fusebox and CDI will sit nicely on the side... or will they?

What I love about fabrication? Welding practice, and the more I get the better it seems to look. Weldingtipsandtricks.com is an awesome website and every time I watch it I pick up something new. Jody explains it brilliantly and the closeup videos show exactly where you need to be.

It's not as neat as I'd like but I'll get the "stack of dimes" soon.


Only when you try to make these things yourself do you understand why the original manufacturers did things a certain way. What will crack due to vibration/weight etc.? Do you weld all the way round or only the sides? This is all a massive learning curve and I guess I'll have to wait until a few miles are under the belt to find out.

Using the original rubber mountings and frame points for the rear of my battery box.


The front battery box mounts need to be made and welded to the bike frame. Because the battery is quite heavy I'm taking no chances. This is 6mm steel bar. The rubber mounts will sit inside the battery box and are exactly the same as the rears.


It fitted perfectly and should be solid enough to last forever... I hope. I'll put some foam in the bottom to cushion the battery and then work out where to put all the electrical components.
Feels good to be working on the old thing again and should get the electrics fitted up soon so I can check everything works as it should. Then finish the side panels and seat unit, then...
No comments:
Post a Comment