
I've never been one to hang onto old rubbish, ok that's a lie. If it might come in useful one day, it stays... forever.
But the old portable compressor has been sooooo useful over the years, and I didn't really want to buy another, not yet. It was working its heart out the other day while I was blowing water and dust of my deck, when its tone changed, and not for the better I can tell you!
Had the head gasket blown? Filter blocked? Piston holed?
Ten minutes later the head was off. I'd actually never looked inside one of these before and was surprised at the valve set up. Just a couple of sprung steel strips, and one of them had worn thin and snapped. Apparently a common fault.

This is a very simple fix.
There are six 8mm-headed bolts holding the fan shroud on, once these are removed we have access to all we need. Unplug the thing first though, there's electrical gubbins everywhere.
There is an aluminium pipe connected to the outlet on the head with a 19mm union. Undo that first and you're left with the four 10mm-headed cylinder head bolts. With those removed you can lift off the head. Don't lose the rubber O-ring on the aluminium outlet tube.

And that's it.

Mirror image on head and cylinder, with cutouts for the steel strips (valves).


But for $9.99 delivered, there are plenty of feeler gauges for sale. And with a bit of jiggery pokery, we can soon fashion a new valve out of one of these.

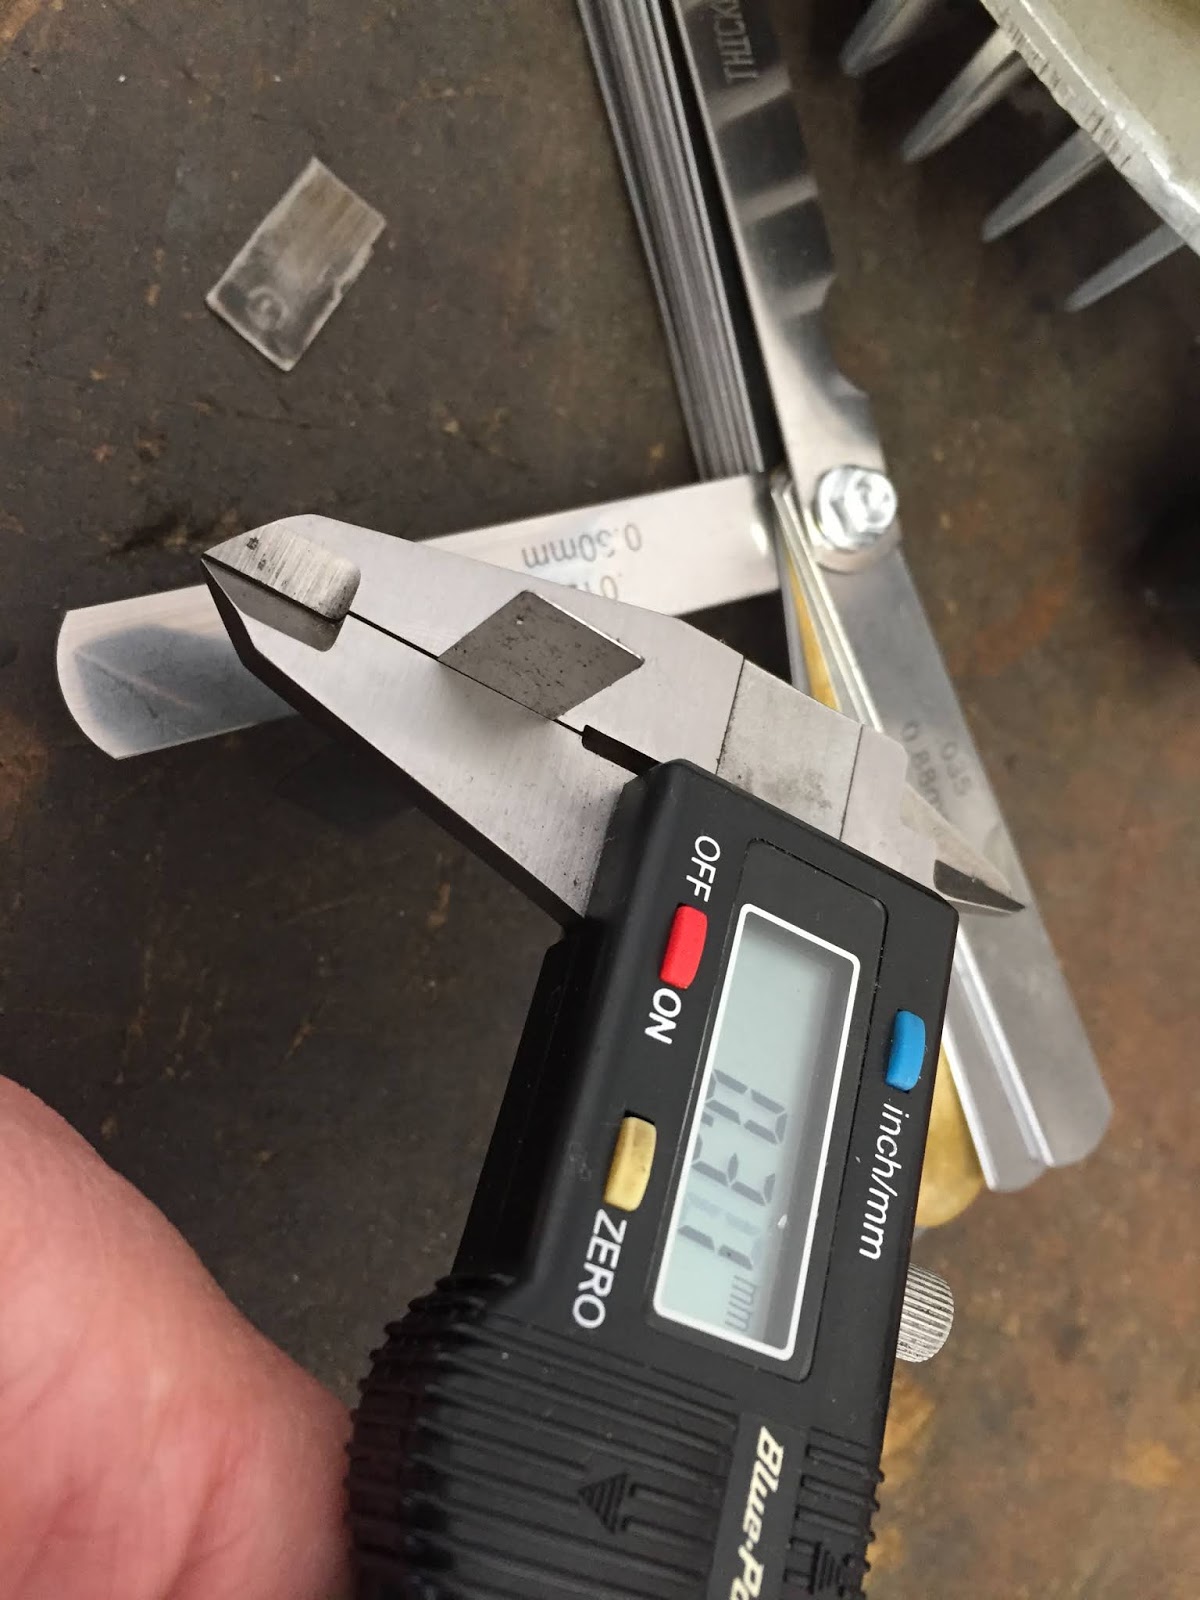
A quick check for thickness, and a 0.012" is the way to go.
I used a tin snips to get somewhere near the right size, and finished it off with a grinder and then wet & dry to get the edges smooth.

A little dab of Vaseline or grease will hold the valve in the head while you refit it.

The new valve fits like a sock.
(Note the O-ring on the tube, it does have a tendency to keep jumping off and making a run for it.)

With a quick clean up of the barrel and head, with wet & dry, to clean off the surface rust/corrosion, it was time to reassemble. Don't forget the gasket, insert the outlet tube as the head is going down, and tighten the four head bolts evenly.
With everything tight and shroud refitted, we were back in the game.

No comments:
Post a Comment