
Wandering Aimlessly...
Since the new Metzelers have been fitted, there has been a slight weave at low speed. I hope it's a steering bearing issue and not a trait of the new boots. Being as it was on the list of to-do's for along time, I ordered a genuine top bearing from Suzuki, as there doesn't seem to be an equivalent generic part number, and the old "32006" taper roller from the local bearing shop for the bottom yoke.
While it was apart, it would be time to clean up and paint various parts on the front end. A month and half later and I'm still waiting on the springs to come from America. Postal service is struggling as they're waiting for flights!
Anyway, back to the clean up. The main things on the list were the yokes/triple clamps, headlamp brackets, indicator brackets, and maybe the speedo surround and headlamp itself.

The strip down was pretty uneventful. It's a good idea to take pics if you want the control cables and wiring to go back as they were. For me, all that will change due to the lower bars. I need to find a better way to use the original cables, without causing issues elsewhere. But for now, I just need to get the old bearing cups out of the frame.

The top one was easy to tap out, and this was the bearing with actual wear marks. In fact, the bottom bearing looked perfect, but while we're in here.
I used a bronze drift to tap the top one out. It was easy because there is a lip all around that is accessible from below. The bottom one, however, was completely shielded by the frame tube. No edge whatsoever for a drift to get a purchase on. I ended up using a pry bar through the bottom of the frame to grip on the top of the bearing, and hit down on the pry bar from above with my bronze drift. Worked a treat but did leave a couple of marks in the frame tube. I dressed those with a Dremel before hitting in the new cup in case the new bearing didn't seat properly on any burrs.

Because you can't buy the seal for the bottom bearing separately, I used the Dremel and a cutting disc to partially cut through the bearing on the steering stem. Then I tapped it off. The seal was slightly damaged but knocked back into shape with a small hammer. The shim was reused, the seal fitted to the new bearing and then tapped into place using the old inner cone.

And with plenty of synthetic grease applied, the bottom yoke was ready to go back in.

I used an epoxy enamel from the local parts shop, basically because it was cheap and you can really lace the stuff on there. The downside is that it takes a while to dry. The bottom yoke, being cast iron, was cleaned up with a wire brush and the paint went straight on, no primer required.
The top one was painful. I left some of the paint on and feathered the edges carefully. No matter what you try, the paint always seems to react with the old paint on the aluminium clamp. After a quick coat to see what would happen, I had to remove it due to reactions. I then used a nylon brush in the drill to remove all of the old paint. It came up well from the brush.

Once cleaned, it was wiped down with brake clean to remove any grease and then primed with etch primer. I was able to apply the enamel top coat pretty quickly and the clamp came up really well! Excuse the mess...

The headlamp brackets were done at the same time and it all started to go back together.

At the time of writing this, I'm happy to say the springs turned up from Sonic Springs. It took a month and a half due to a lack of flights during these COVID times — painful.


Because they are straight rate (linear) springs, they are much shorter and need a spacer to take up the gap in the forks and also provide the preload. They advise the preload to be around 20mm. So with a bit of jiggery pokery, measuring and remeasuring, I cut the plastic tube provided and refitted the fork top nuts. Boom ba ba boom!
With those inserted, running 10/40 oil with an air gap of 150mm I have to say it is stiffer, and moves about a lot less, but isn't using all of its travel. I might drain a little oil out and bring it back to the factory level. Not too worried at the moment as I want to put a few more miles on them. Definite improvement on the originals though.
Back to the painting.
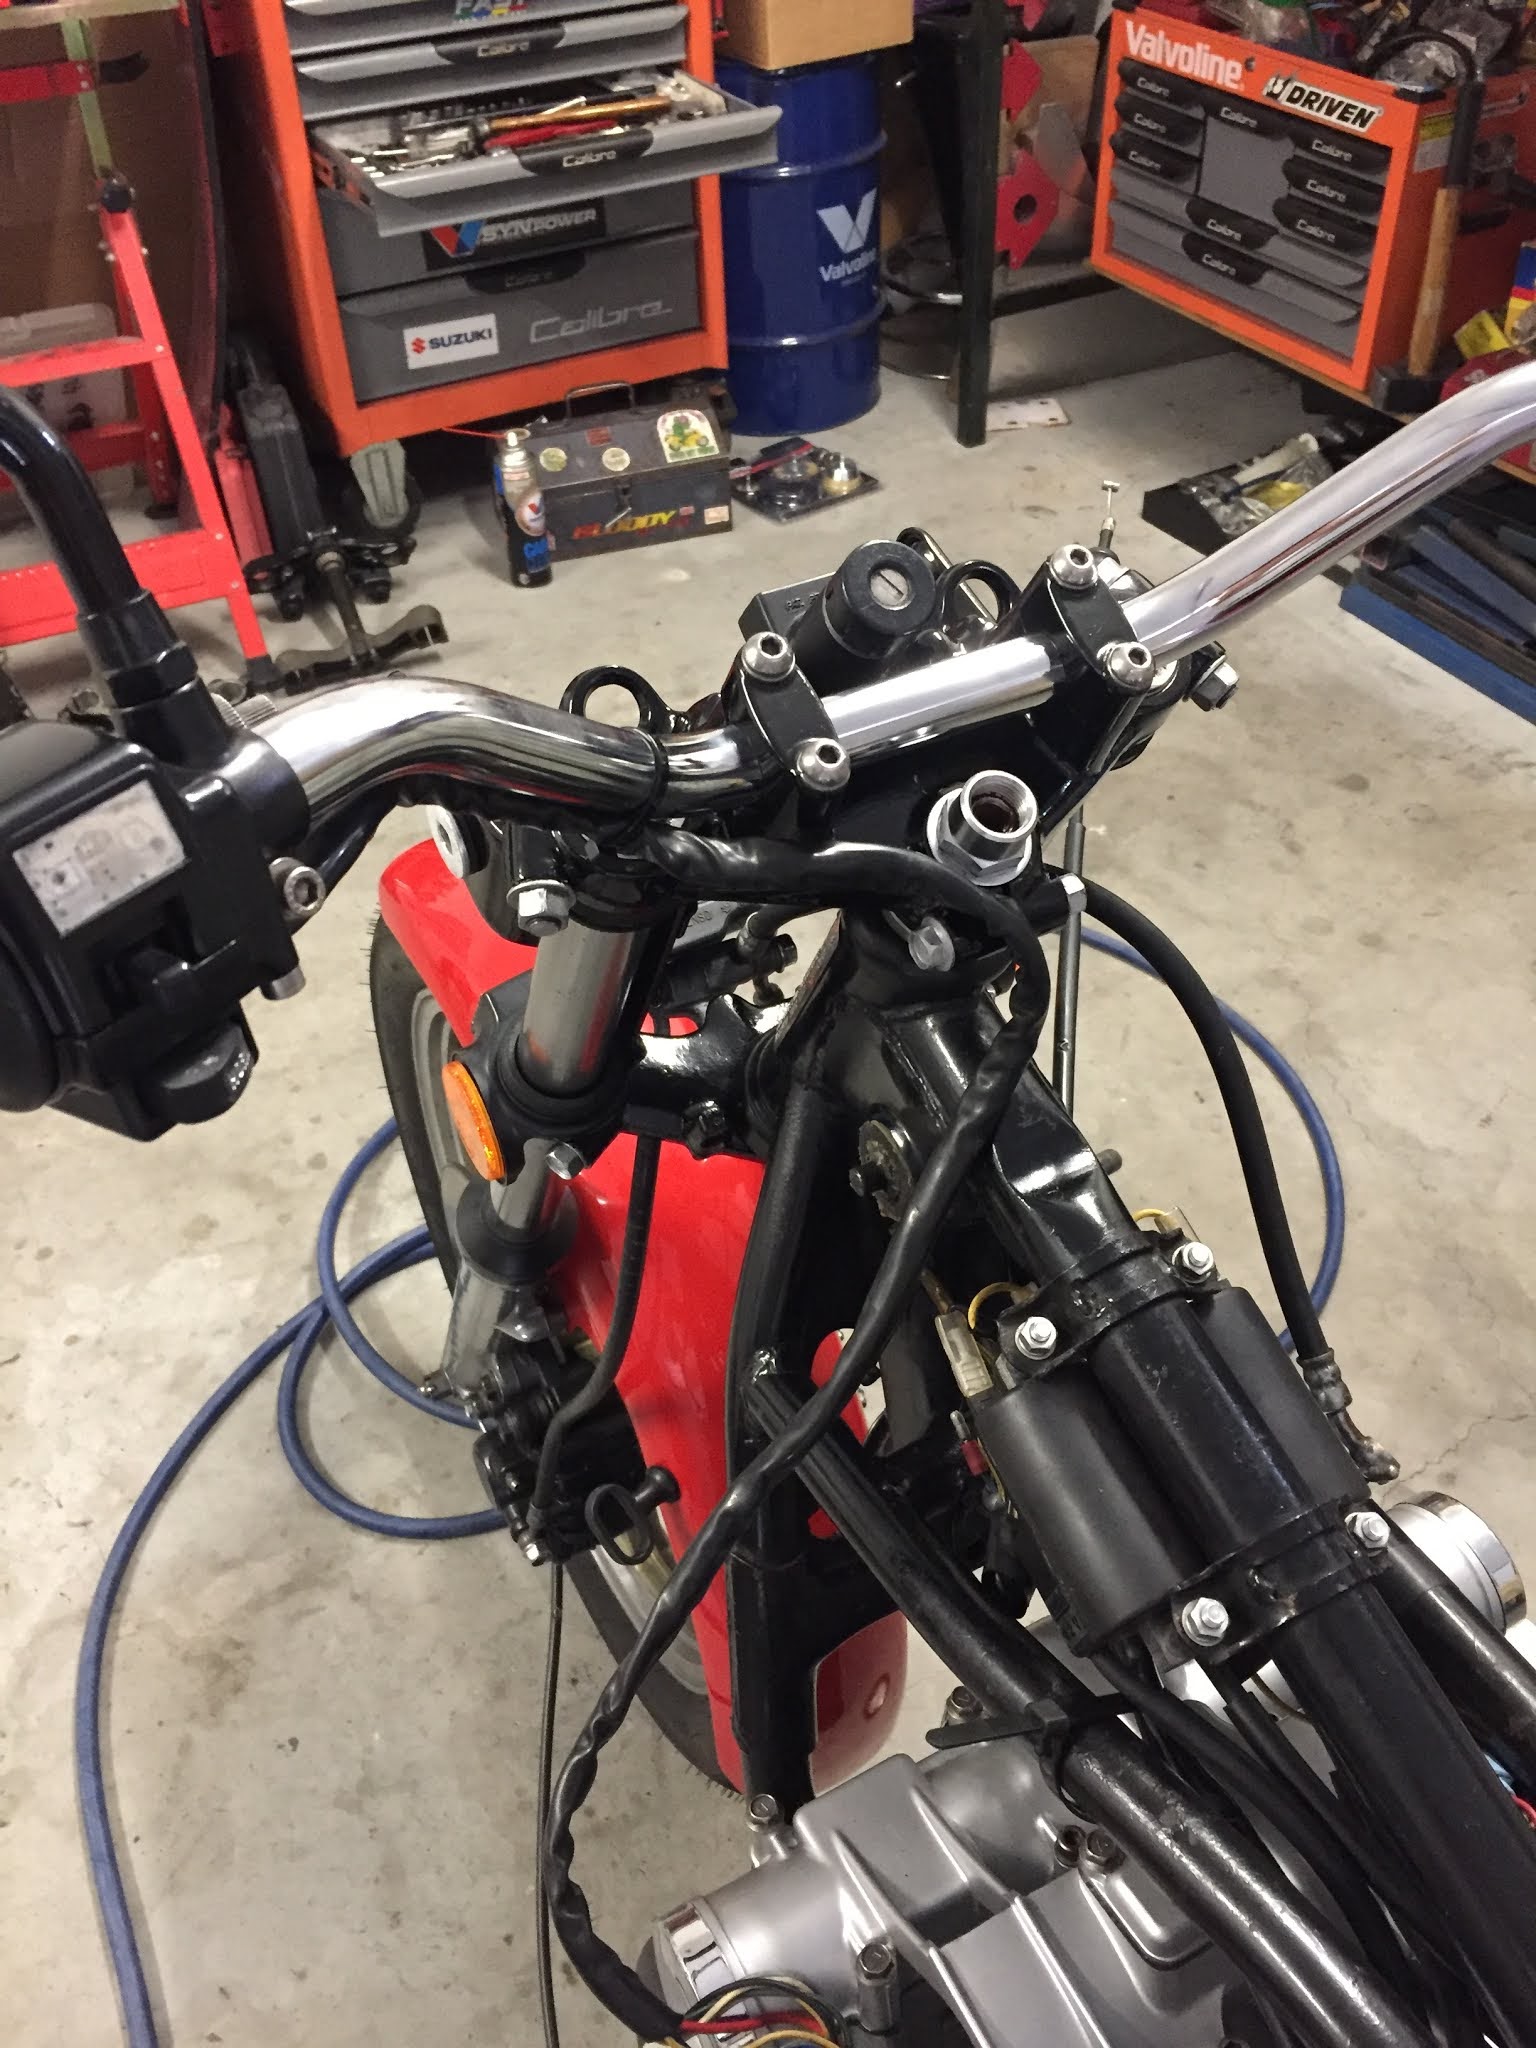
Because the bars are lower, I needed to "lose" some length (oo'er missus) in some of the cables. This involves the clutch and throttle cable mainly and took some trial and error.
Next came the instrument cluster. Mine is a bit fragile to say the least and could do with some paint to tidy it up. The headlamp shell is also a bit weathered. I bought some Duplicolor Bumper Paint to try. I have to say the finish is superb!
The chrome backing on the cluster has gone bad and looked green in places, I used the bumper paint on that too, leaving a chrome strip to break it up. I think it looks pretty good.


The main support bracket was painted with black caliper paint. I don't need it to be gloss, just tidy.


Then it was time to start putting it all back together, always get impatient when there's a road test to be had!


Also fitted the original Bandit master cylinder. Much better feel due to the longer lever, and better quality part. The front brakes, considering they are standard, are actually pretty good now. This little bike is getting better.
No comments:
Post a Comment