The Tailpiece...
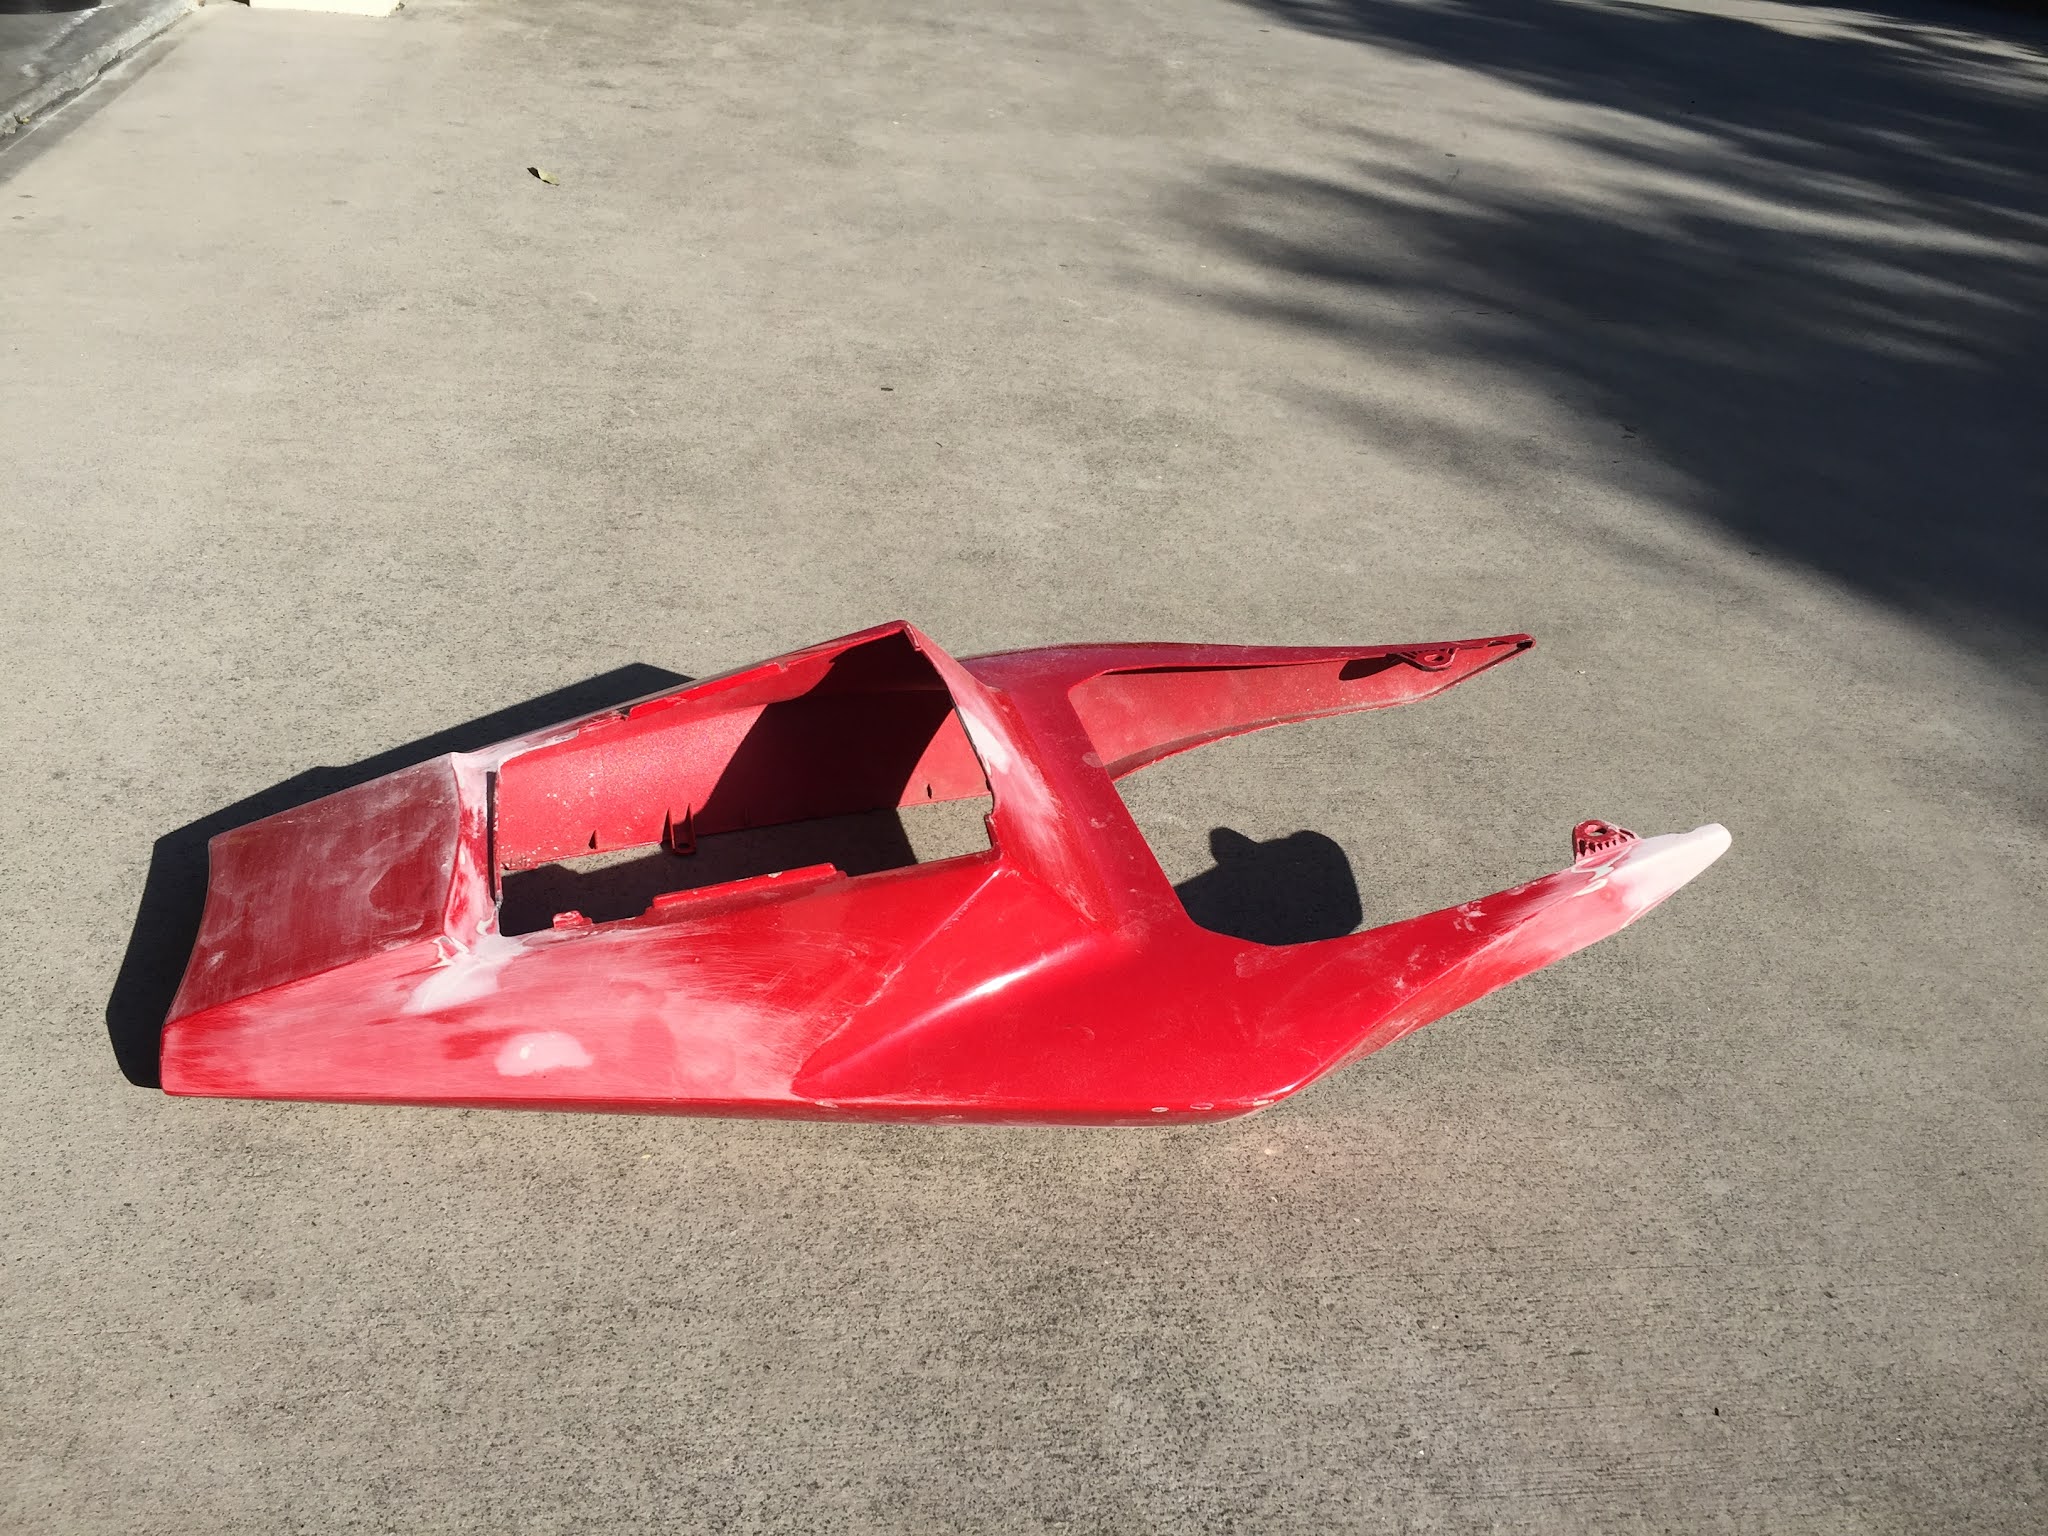
Finding a secondhand tail for the R1 was becoming a pain. Cheap enough in the States, rocking horse shit out in Oz. I decided to give repairing it a go. It was cracked in several places, missing a chunk of plastic just under the seat, and both mounting brackets were broken off and missing. Not a good start, but not impossible.
I'm not a huge fan of plastic welding on fairings — I haven't come across a really strong weld yet — but am open to it if someone can prove the join is stronger than the original section. I am going to superglue the cracks shut, then fibreglass behind them. Yes, fibreglass is messy, but extremely strong and durable. With a light skim of filler, I'm hoping to get away with it.
The pointy bit under the seat will have to built up first in fibreglass, then shaped with filler. I consider this to be skill-building, and I need the practise with filler anyway.
I'm using Septone fibreglass filler for this and, once mixed, apply it within certain masked off areas inside the tail. While it's still wet, I remove the masking tape and smooth it off by hand. It's not pretty, but it's strong as hell once it's gone off.
Two of the lugs underneath were also snapped off but were in a bag with the bike. I superglued them on to hold them temporarily, then ran some JB Weld along the top of them. These are to hold the under tray in.
With a piece of cardboard cut to shape, I was able to rough in some fibreglass. With time, you could make a mould and maybe get it somewhere near in one hit, but I'm being lazy and this is going to do today.
You can see the card in this shot.
With fibreglass shoved in behind every cracked section, I was able to rub back the paint and fill the areas. The piece at the front is also taking shape.
I'd already cut and shaped some aluminium strips to mount on the subframe. With these bent somewhere near, I fitted the tail light to make sure the tail piece was sitting correctly. I then removed the tail, mixed up some 3M bonnet glue and applied it to the aluminium strips. This time the tail piece could be placed back onto the bike and pushed down into the glue. After checking it sat in the correct spot, I left it overnight.
The bonnet glue can be seen here. That stuff is incredible!
The shape isn't perfect, but it's pretty damn near.
With primer applied, I just want to let it settle for a week or two to allow for shrinkage of filler/primer etc. Then I'll rub it down and paint it black... I think.
It's beginning to look ok, I think we might be able to use it after all. After a few weeks, a light flatting was given to take any rough spots out and it was sprayed with aerosols.
Undertray done too, I'm pretty happy with how it looks considering how it started out... and was painted with aerosols.
With lacquer applied, I put it back on the bike and left it for a few more weeks. Once the paint had gone hard enough, I flatted the top part at the rear with 1200 grit and then polished with cutting compound. I then gave the whole thing a going over with the polisher, and it looks pretty good. Sure, you could go mad with polishing but I don't want to risk breaking through the top coat.
So it's coming along, the last major job is to hide the wiring. Then back on the road!


No comments:
Post a Comment