
In a time when power and performance were paramount, the superbike manufacturers of the seventies and eighties were busying themselves with update after update. The big four Japanese factories continually pushing themselves to bring out the biggest and, perhaps more importantly, fastest bikes to sell to an eager public. The fact that the frames couldn't hold most of them in a straight line didn't matter, horsepower sold bikes. Besides, when you're in the pub claiming 80BHP at the back wheel over a few pints, the fact that you encountered death regularly really didn't matter (hell, it probably added to the bragging rights).
But as the engines continued to grow, somebody in Japan must have twigged that a bike that went in a straight line of its own accord, and round corners at the pilot's, might be a useful design brief. And it worked. Suspension improved, frames got stiffer, and gimmicky names and four-letter abbreviations began to take off!
1) Full Floater suspension - Suzuki's mono shock system.
2) TSCC - Twin Swirl Combustion Chambers (pretty cool huh?)
3) SADS - Suzuki Anti Dive System (or maybe just stick with sad)
All of the factories were at it, and all trying to outplay the other. I guess it kept them honest, and the punter was happy to benefit from the very latest in sports bike technology. And some of it was good; gear selection indicators must have been light years ahead at the time, and I'm glad to see Suzuki still using them (I wouldn't be without it now). But for every good idea, there came the oddities.
Consider, if you will, a device to prevent the forks from diving when applying the brakes. Imagine, suspension unflustered, steering geometry remaining a constant when cornering, what could possibly go wrong? Hmm, what about bumps in the road?
Unless a [relief] valve was incorporated in the forks, you were now riding with a rigid front end - until you released the brakes. Upon which the suspension would suddenly start moving again, affecting the entire bike's poise. Not really that good when you're committed to a bend. But, SADS does have such a valve incorporated, so maybe all is not lost.
The next aspect to think about is brake lever travel. Single piston, floating calipers have one major drawback. Once the piston has moved its brake pad into contact with one side of the disc, the caliper itself must slide to enable the other brake pad to do the same. Although the movement should only be slight, it does increase lever travel. Factor in the anti-dive mechanism and it's going to be hard to get good feel from the lever. Maybe a late Gixer master cylinder will help...
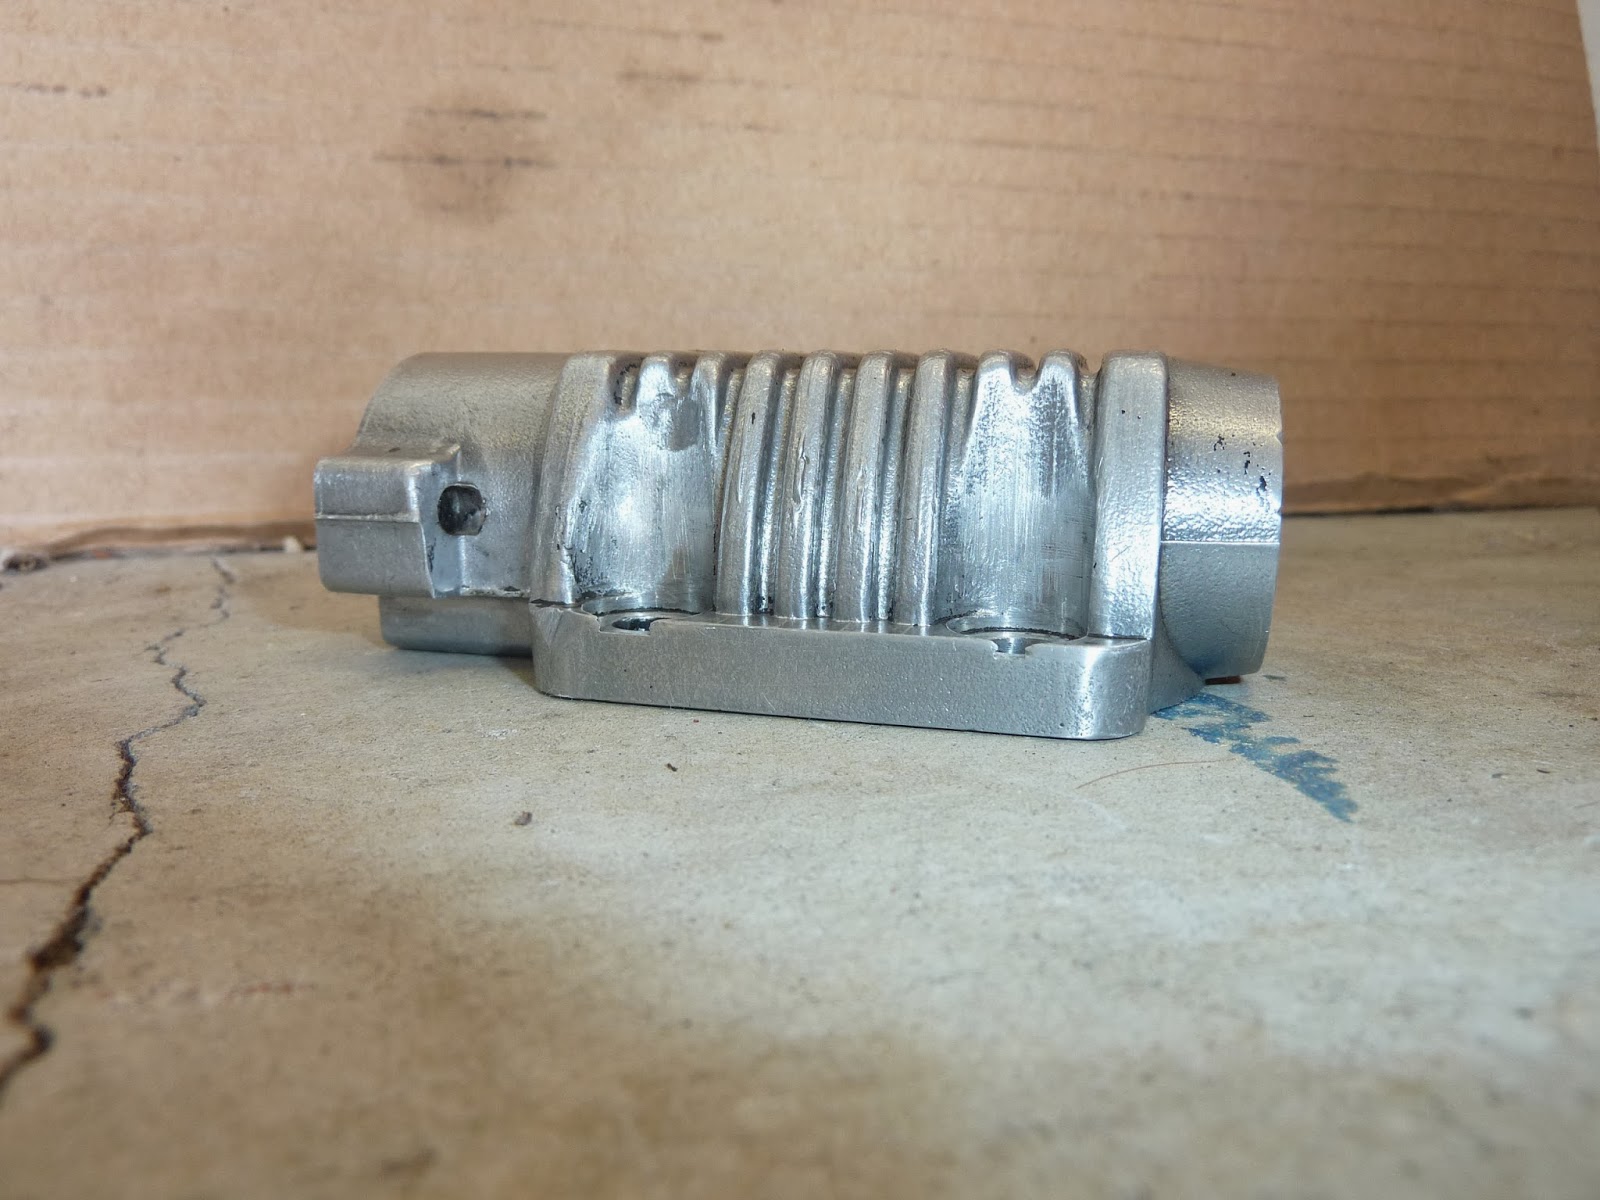
Anyway, without further ado, we have the anti-dive modulators themselves. Here's how it's ripped apart, cleaned up and put back together.
As per, the corrosion and age have taken their toll. The bleed screw unscrewed quite easily though, considering its lack of movement for years.

Next is the 17mm headed adaptor in the top, complete with O-ring.


Two 4mm Allen screws next, and the top can be removed. This is the only part of the anti-dive that contains brake fluid - or should be.


Oof, this hasn't been working for a while (but maybe that's a good thing).

A quick soaking with WD and most of the corrosion is removed. That circlip retains the piston and its housing within the modulator.

Remove the circlip and, if everything is moving freely, the housing below will lift out under spring pressure. Not much bloody chance of that here!

It can sit here soaked in WD. Gentle heat can be applied to expand the aluminium, but otherwise I'll just wait - I'm in no hurry and forcing it will just cause more grief.


Back to the top, and here's the piston removed. It has two O-rings fitted. If brake fluid passes the first one, it can drain through a tiny hole drilled in the back of the housing. The second O-ring should prevent any brake fluid reaching the lower part of the anti-dive.

Should you need to remove the blanking plug/spring at the bottom of the unit, you'll need to press it inwards to gain access to the wire clip just visible. Hook that out and it will come apart. Ideal if the corroded housing above won't come out because of corrosion.

Paint stripper and a wire brush gives a clean, alloy finish.

And here we have it stripped down. (Forgot to put the circlip in this pic!)

And time for reassembly. Rubber grease on the O-rings makes it all slip together nicely.


The missing circlip back in place.

Ready to roll. Now you can clearly see the bypass holes that allow the forks to work unflustered until the brakes are applied. The tiny holes up above are to allow brake fluid, or fork oil, to drain in the event of the O-rings failing.


I'd like to know what you used for new O-rings. Sizes, type material, etc.
ReplyDelete