
Because I just wanted the GS550 to look good enough to go back on the road without any fineries and, because I'm too tight to pay the extortionate prices needed to get someone to spray it professionally, I'm doing it with aerosols.

It was already painted of course, I'm just not sure what with or by who, as it was a pretty messy attempt. A simple cut and polish wasn't going to improve it. But what started off as a quick repair on the tank, ended up with doing it all, as is the way with restoration generally. But I've promised myself only to do the absolute necessaries to get this thing on the road, running right and looking half-about.

It all started off with this dent. It was very rusty before and I didn't want it to go through the tank and leak, so a quick clean up was necessary. I thought I'd just fill it and leave it until I'm ready to do the paintwork.

But then I thought the rest of the tank is looking pretty ordinary, it won't take long to rub it back and see what else needs doing.

And so on, and so on...

The tank itself is in pretty good shape for 36 years old and the original colour can be seen underneath the metallic red. In hindsight, I would've stripped off all the paint because of a reaction I got around the filler neck. But this was also a bit of experimentation to see what I could get away with (it's a been quite a few years between body repairs you see).


Using body filler.
For anyone doing filler work who hasn't done it before, here's a few tips:
- Strictly speaking, it's better to clean all paint off around a dent so that the filler goes onto bare metal. Oops, another faux pas.
- Mix it up really well. Make sure both colours of the filler have become one or it won't work properly.
- Use a block with 80 or 120 grit wet & dry to get the required shape.
- Run your DRY hand over the filler from all angles to feel for imperfections.
- It takes time to get a feel for lumps, low and high spots. Practise it.
If it feels lumpy or there's an edge, keep going. If it feels low, work out if more can be taken out from surrounding areas, or add another skim of filler.
Sometimes it feels like you need more in there when you can actually keep blocking it to get where it needs to be. It's a very hard skill to learn, and I'm no expert.
Preparation is everything.
If you can feel imperfections now, you will see it in the finished paintwork. Because I haven't done any bodywork for a fair few years I'm treating this bike as a training piece. Some things you can get away with and, if it's hidden, don't worry so much. If it's the most visible part of the fuel tank, take your time.

I welded on a plate underneath and filled the front end of the guard. Two small holes at the rear were just filled in with weld because there was already an original strengthening plate behind. The front mudguard should be chrome, but that has long gone.


The underside, as you'd expect is pretty rusty. I cleaned the worst up and sprayed it with black Rust-o-leum. Once everything's painted I'll use a sealant/protector like Tectyl.

Easy to weld up these because of the thick plate.

Needed to put one here because the steel is so thin. That way I could jut fill straight over the top of the holes.

Not my tidiest filling to be fair, it took quite a bit of shaping and I eventually ended up with another skim on top. The rough texture near the front of the mudguard is where the filler started to go off. You need to work fast and get it on smooth. Again, it's something that comes with time.

Slowly taking shape. Bit hard to use a block because of all the curves so the finished shape was done by hand. It eventually came up pretty good. Slight difference between the two sides due to heavy denting previously, but pretty pleased with how it turned out.

A few coats of filler primer and it started to look pretty good. The primer builds up the surface nicely, allowing you to flat it back and get rid of blemishes. The light dusting of black spray on top allows you to see where all the high and low spots are in your repairs when you flat it off. I used a block with 600 wet & dry and soapy water to get the finish required for the top coats.
The filler had several tiny pinholes in it when I rubbed it back so they were filled with blade putty and primed again. It's time consuming yes, but when you look at it later you'll be glad you spent the time.
I've seen YouTube videos of people rubbing back primer with 180 grit and painting on top of it. They keep flatting the top coats and lacquer to try and hide the scratches. This is stupidity. Use 600 or 800 at this point to get the required smooth finish now.
All imperfections will show through in the finished product. I'm doing this one to see exactly what works, and how much I can get away with for the cafe racer.

The rear cowling was in pretty good condition bar for a crack in the back panel. It's hidden by the tail light so I'm not too worried about that. I plastic welded it and primed it too.
Back to the tank. A slight reaction between paints occurred around the petrol cap area, which is a shame, but it's covered by a locking panel so pretty lucky really.


Monza red was the colour of choice, and looks pretty good even if it's not the original Suzuki colour. Once it's had a week or so to settle, I'll flat it with 2000 wet & dry, and lacquer it.
There's a balance between getting it on wet enough, and not getting runs. It turned out pretty good, would've liked it a bit wetter but flatting it should get everything nice.
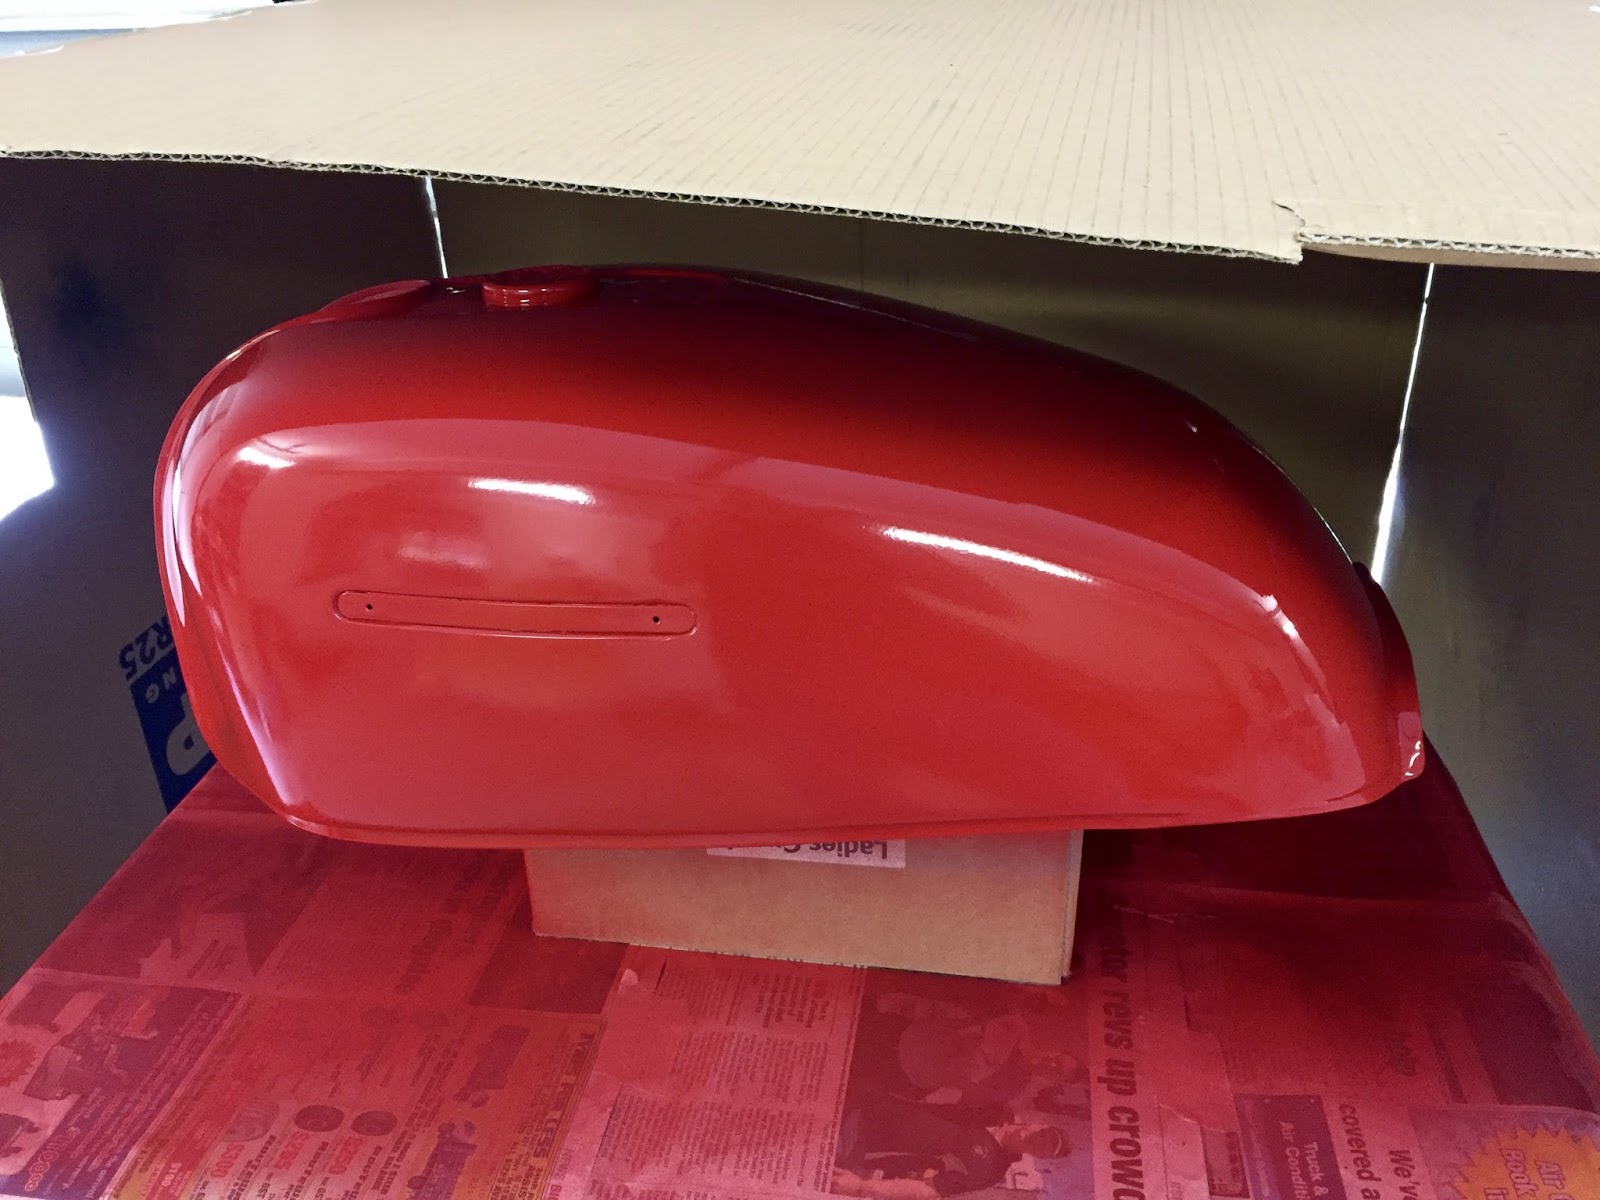
The colour has certainly grown on me, and I think the bike will look ok in its unrestored state.

And a quick mock up to see what it will look like. Hopefully a useable classic. Just need to get some new side panels for it and we're nearly there!

Next up, the fork brace has arrived for the cafe racer... that's progress almost.
No comments:
Post a Comment