
Finally getting there...
Once painting of the cases was done, I put the crank and gear clusters back in the crankcase. Turning everything over, something I hadn't noticed originally was pitting in the teeth of one of the gears. It turned out I needed sixth drive gear (obviously unavailable from Suzuki now), but a search on eBay came up with a NOS one in Cyprus. With a delay on postage due to COVID-19, all I could do was wait.
The pitting is visible in this pic. The largest gear in the top cluster.

One NOS gear from Cyprus. Whoop!

So now I could move forwards. All seals and O-rings were direct from Suzuki. An aftermarket gasket set was used because of cost, and the fact that they are readily available. Any leaks on an outer case can be fixed relatively easily. Crank seals and the like are painful to change once the engine is back in, so my advice is to buy accordingly.

I try to make sure there are no raised areas on the matching faces of all cases. I usually turn a large drill bit by hand in all holes just to make sure there are no ridges, and run a large file "gently" across any face to make sure everything is flat. I'm using Threebond 1215 sealant for the crankcase faces.

Once I was happy that everything was ready, and new O-rings were fitted in the oil galleries, I applied the sealant sparingly, and put the bottom half back on. I tightened the main bearing bolts in sequence as instructed.

The oil strainer and second o-ring can go back in now. Then a new sump gasket and the sump. So far so good.

With sump refitted, oil pump back in with new o-rings, and the gear selector mechanism fitted, it was time to get to the top end.


With a hand to steady the barrels, they actually slid back on relatively easily as I pushed in the rings.

It also turns over which is an added bonus when rebuilding engines.

The new head gasket was put on, and the head refitted. Didn't get any photos of this part as I was too busy enjoying myself. All head nuts were tightened in sequence a little at a time, and torqued. This will be rechecked a few times after its been run just to make sure there is no "give" in the head gasket which leads to oil leaks.

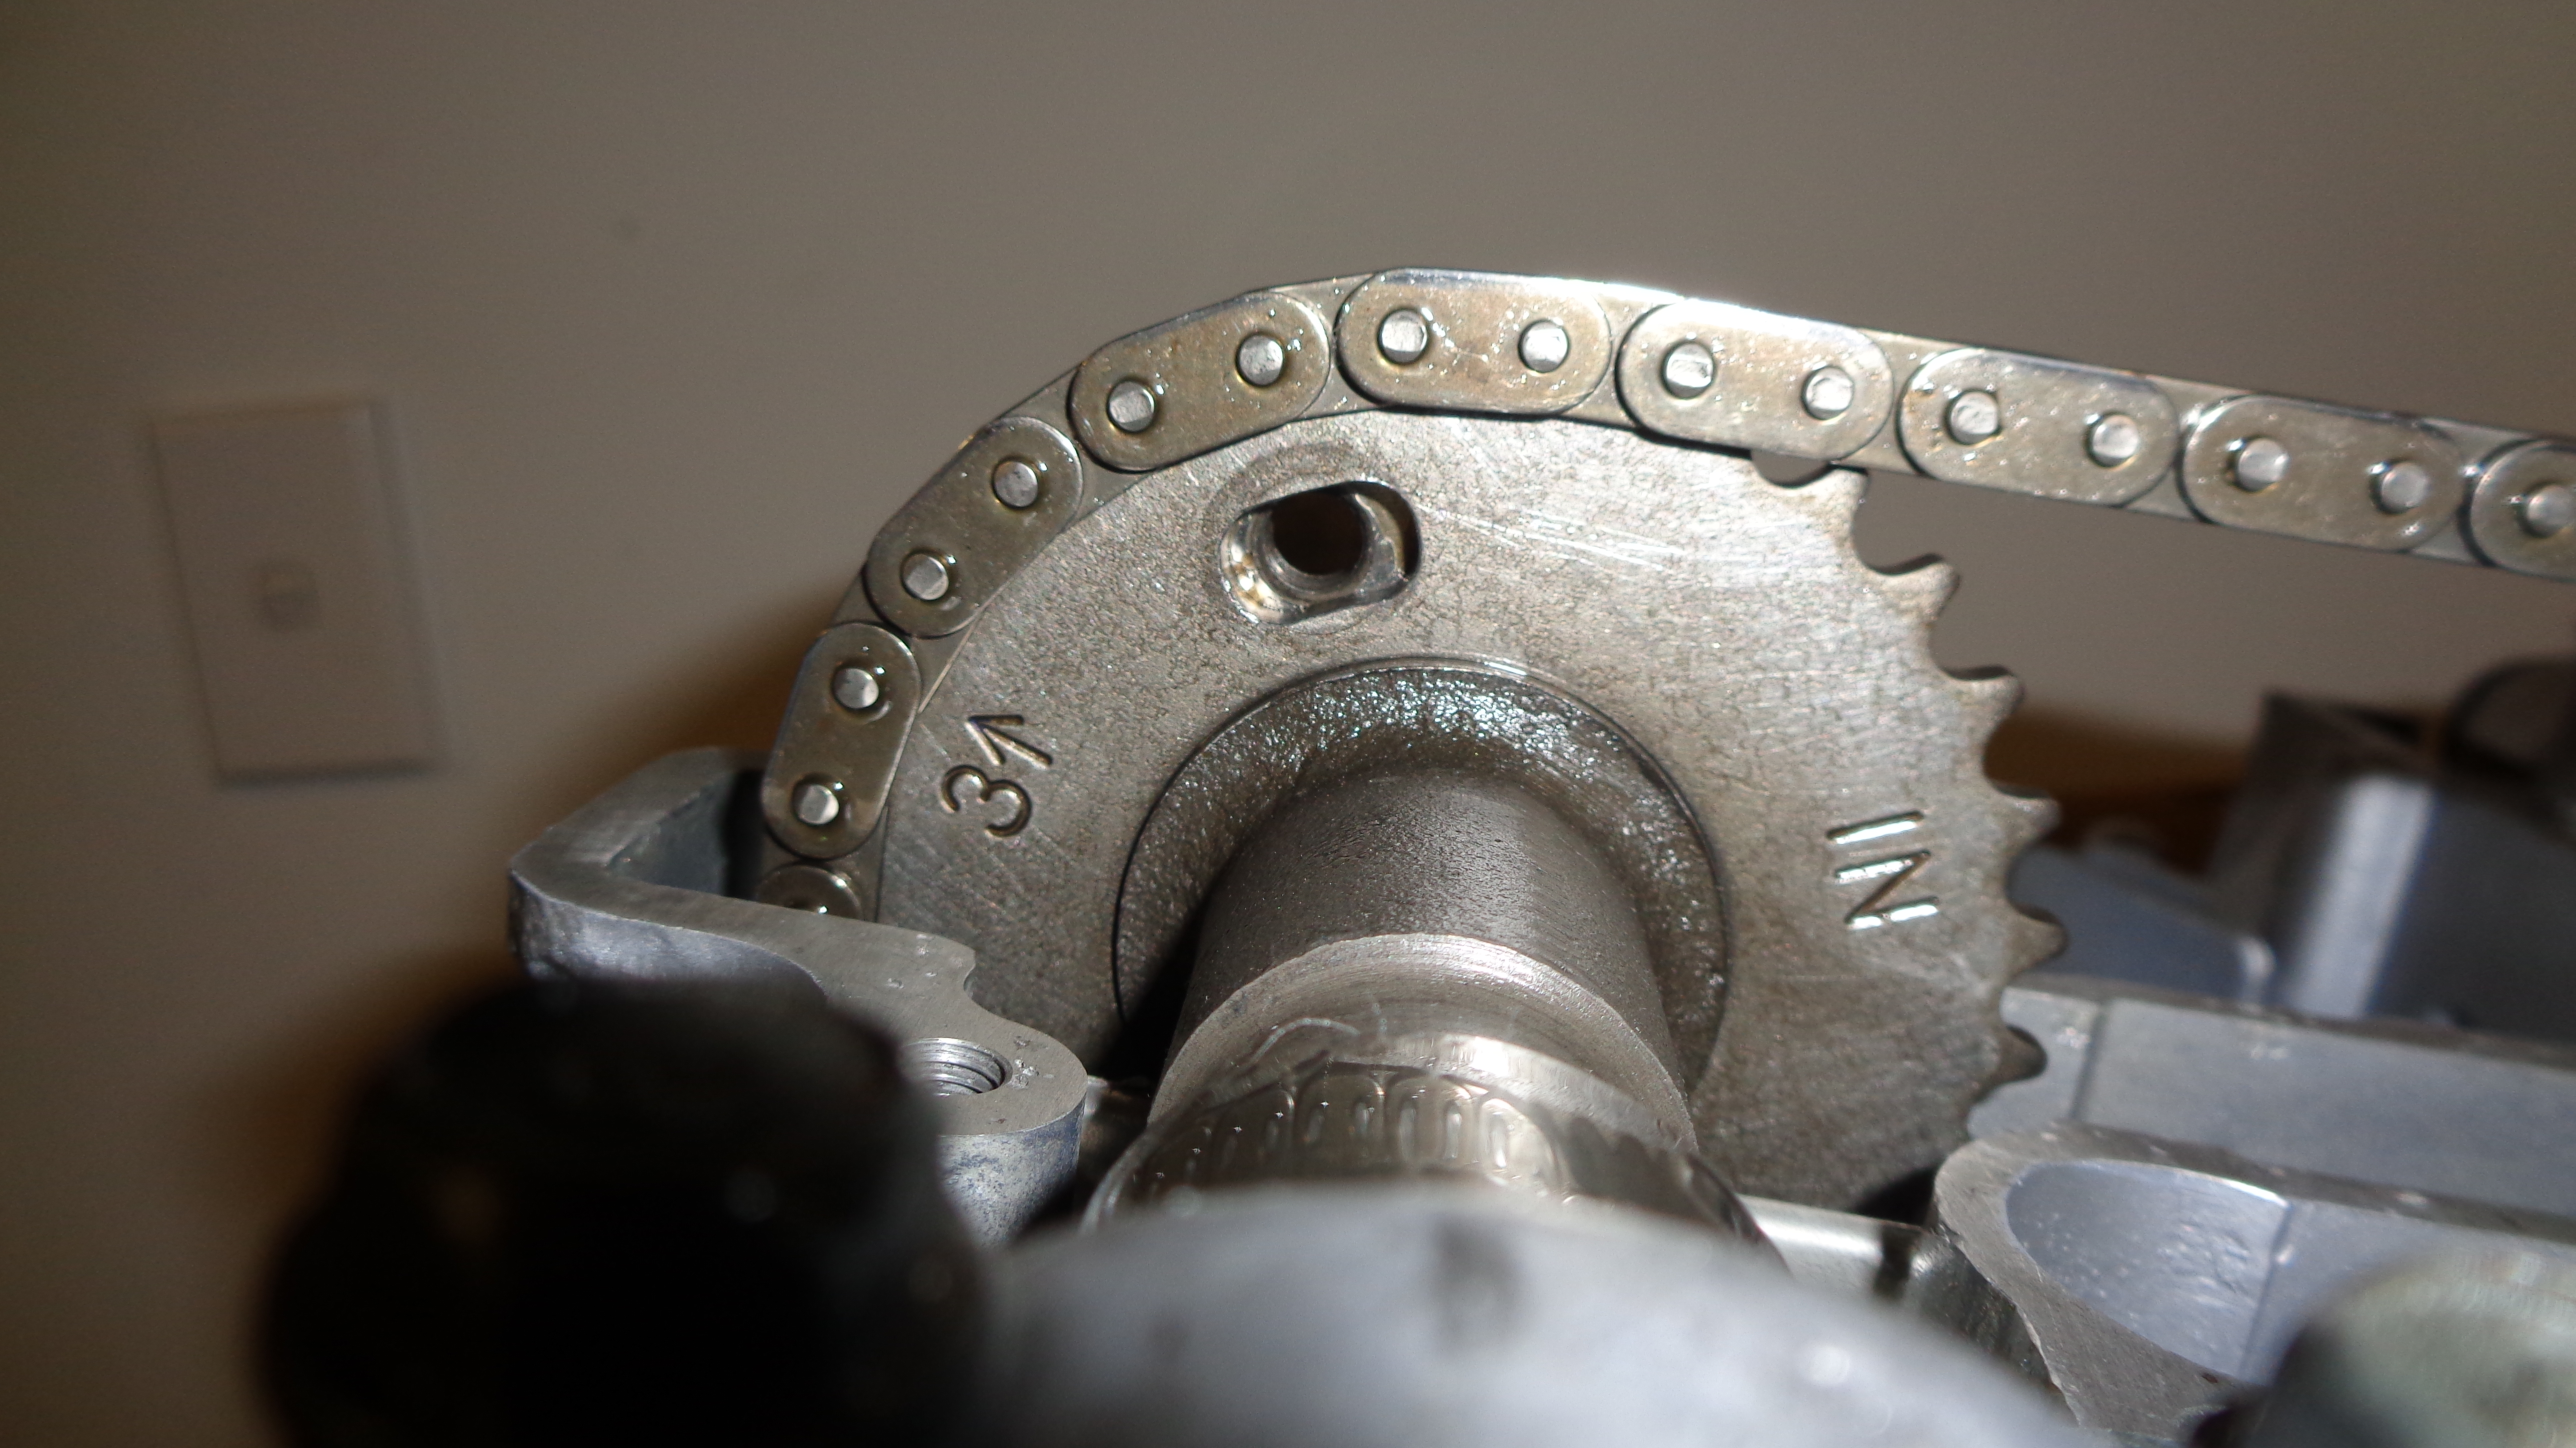
Buckets and shims go back in, and then the camshafts. All wearing surfaces are oiled and/or assembly paste applied. I'm using the 650 camshafts because they are still a perfect fit in the 650 head. My 550 cams were slightly worn so that wasn't possible. I've heard most people go with the 550 cams because it makes them rev higher. Apparently the 650 cams are better for torque — they actually have about 1mm more lift than the 550 ones.

Dialling in the cams.
This is a new one for me. Having worked on cars most of my working career, I've been used to freewheeling cam sprockets, even crank sprockets, while fitting cam belts, but they always have locking pins or plates to help with timing. This is the first time I've used a TDC tool to find accurate TDC, and then a DTI to find the centre of the lobes.

The TDC tool I made up out of an old spark plug, and an exhaust stud and nut from a Vauxhall.

I won't go into the methods of working out these measurements as there are much better explanations online. As I say, it was a new one to me and I enjoyed learning it.

A mate was able to use his mill to machine out the original 6mm holes to 7mm slots. He did a fantastic job. Thanks Shane!
Once set, the individual bolts were locked up with thread-lock. I'll recheck the accuracy once I've done a few miles on the old girl.
Valve clearances were checked and adjusted — all ended up on 0.02 - 0.03". To increase them anymore, I'll need thinner shims but, for now, we have enough clearance. Again, another thing that will be checked after a few miles.

I bought a 650 advance mechanism as they have a few degrees more advance, but the main shaft was thinner than the 550. After a thorough cleaning and greasing of all pivot points, I had the original one working as it should. It was good to get an idea on how tight the springs should be. I gave them a slight tweak to maintain tension at all times.

Then it was time for the rocker cover to go back on.

The engine is looking great! The broken fin looks perfect, and the heavy old lump is ready to go back in.


At this stage I still wasn't sure what I was doing with the exhaust. An original chrome one would be nice, but shipping from the states puts it way over budget. Exhaust or no, it didn't stop me from firing the little beauty up. This is with the old points setup, a new Dyna S system is on its way from the states.

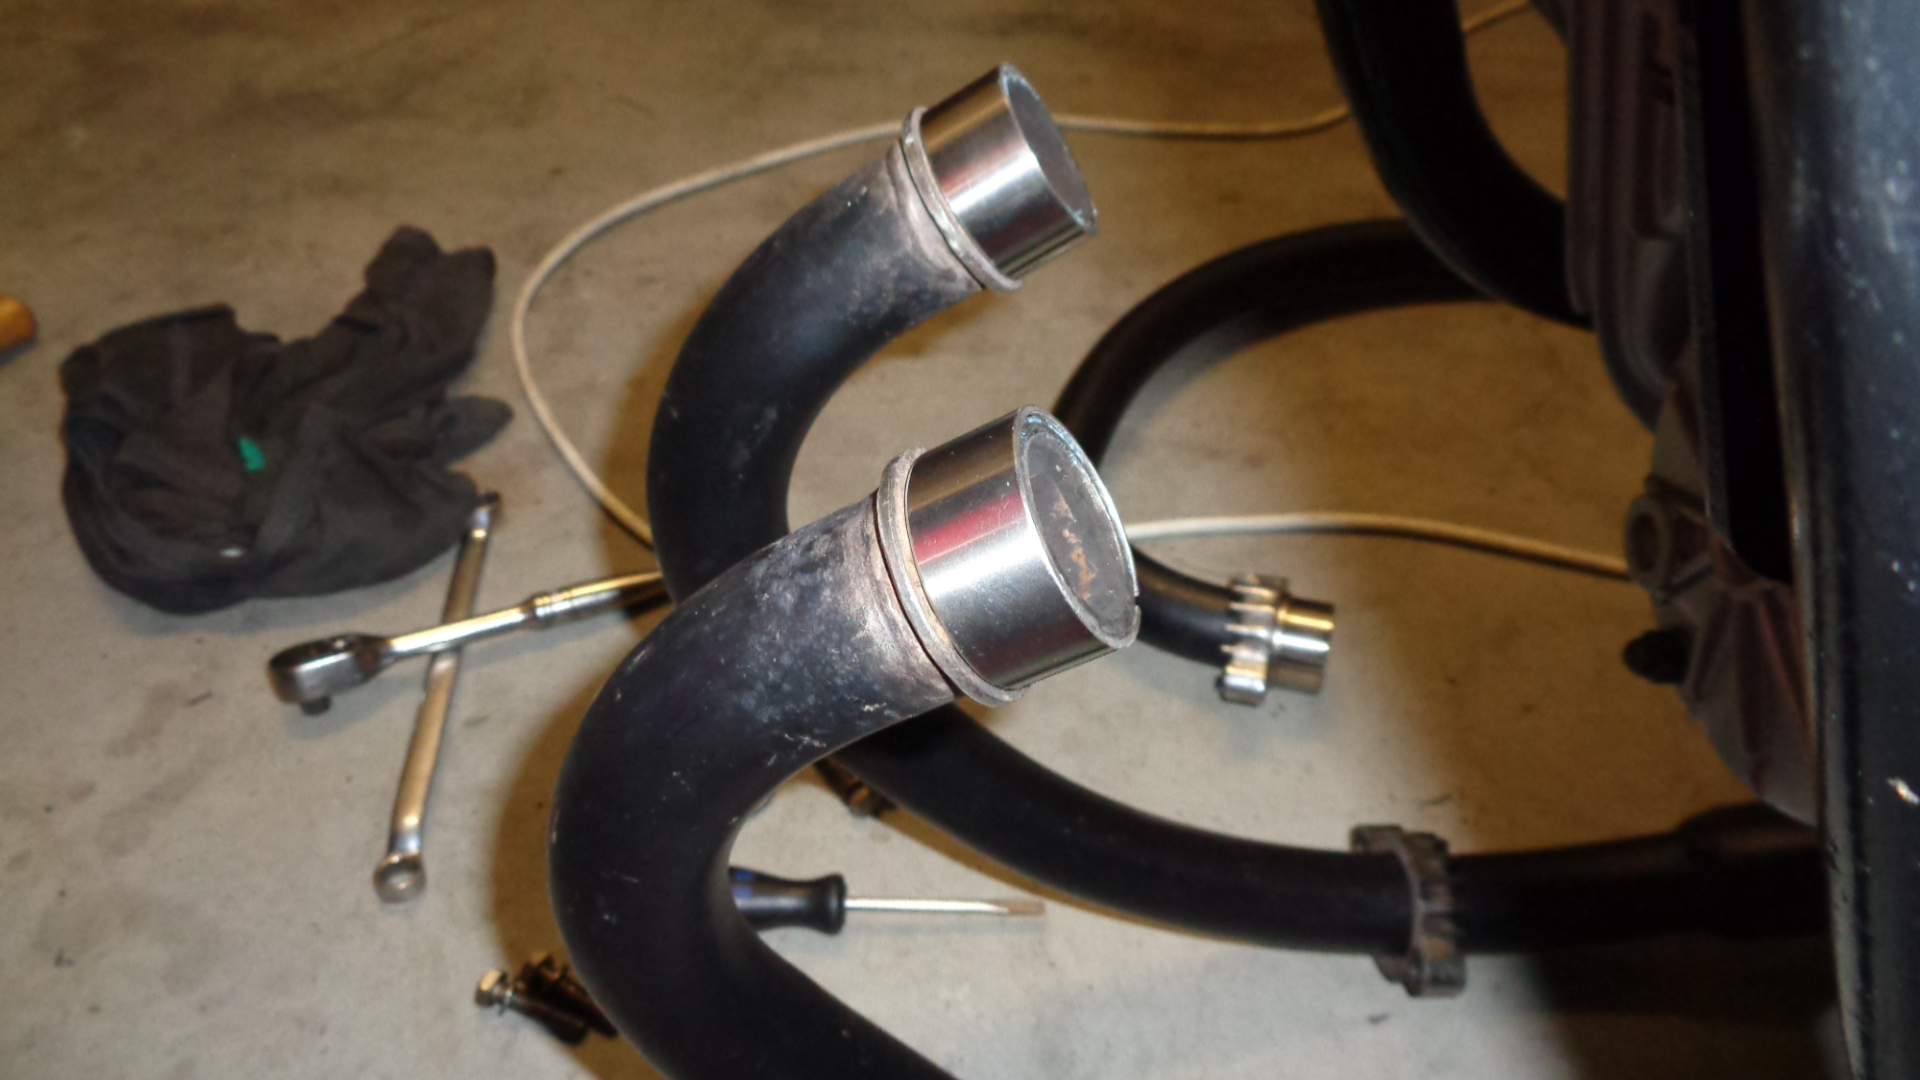
The issue with making exhaust pipes is the time it takes to make something look good. I thought some nice MotoGP-style welded, pi-cuts would look great. That may lie in the future, for now I wondered if a rubbing down with wet & dry and some heatproof paint would suffice. In fairness, they turned out better than I thought.
The exhaust gaskets supplied in the set were useless, and not as wide as the old ones, so a clean up of the originals was necessary. The pipes also needed a little help with centralising in the ports so I made up some collars from stainless pipe.


They worked perfectly.
I was actually blown away with how well they suited the bike. I actually prefer it to chrome now, and I can see why the later GSX550's came with black chrome pipes.

Happy with that! Get it tested and register her again.

Road test coming...
No comments:
Post a Comment