Showing posts with label restoring engine cases. Show all posts

Sunday, July 4, 2010

Results spur you on

This is what restoration is all about.  Taking something that looks fit for the bin and bringing it back to life. The clutch cover.


A quick wire brush, a rub with some wet and dry and I reckon it'll be ready.  Nearly.


Oil pump drive removed along with the clutch actuating mechanism.  The inside of the cover is in superb condition!  The outside not so.  Time for the Dremel fitted with a tiny wire brush.


The Dremel did the business - now for the paint.  This time I armed myself with paint stripper.  


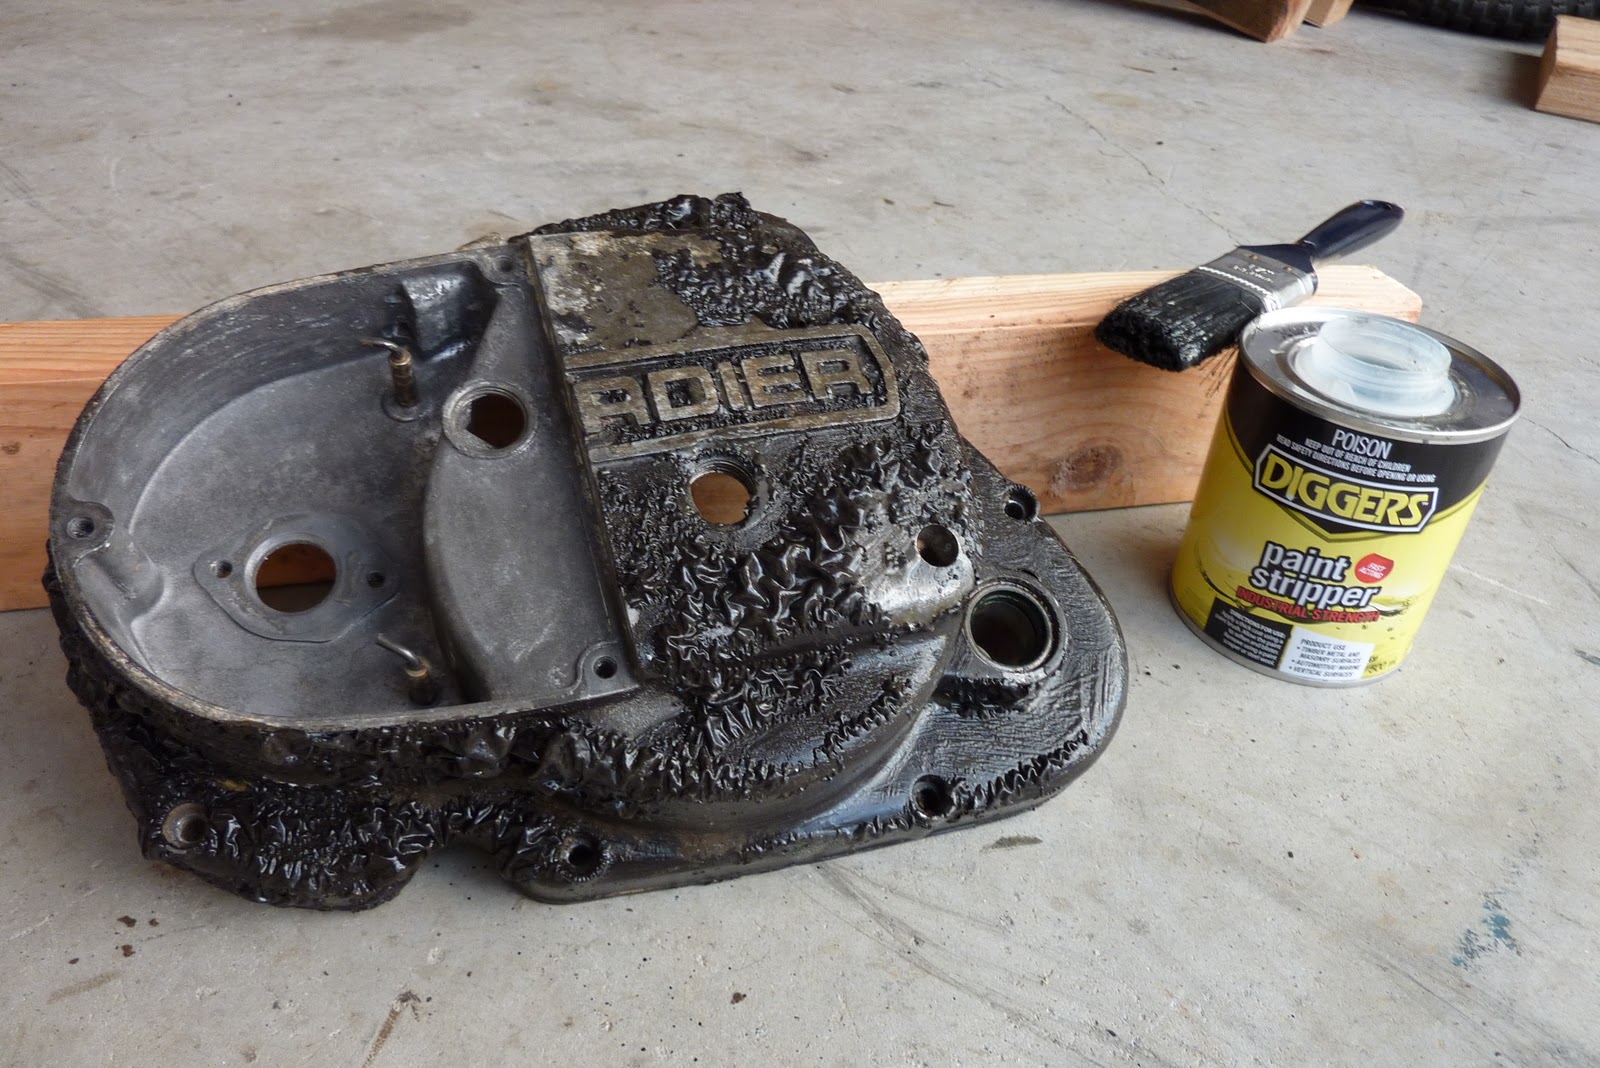
Fantastic stuff!  Just need a scraper (plastic filler spreader is ideal because it won't scratch the metal) and we're away.  Better to wear gloves when doing this because that stuff stings a bit!


Time for the 120 grit wet and dry and a wash in the sink while no-one's about... 'looks around nervously'.


Time to get back in the garage before I get found out.


It's a good idea to clean out all of the threads.  Corrosion, instant gasket (silicone) and damaged threads all cause havoc when rebuilding so sort it out as you go along.  A good tap and die set is a must when restoring.


Right, let's give it a whirl.


That'll ding dang do for me.  Just needs the paint rubbing off the letters and it'll be right.


Not too bad to be fair.  Time to make a start on the stator cover.


Wednesday, June 23, 2010

Satin or gloss black?

When painting the Can-am engines I normally go for satin black.  To take a quick break from the engine internals, I thought I'd clean up the oil pump cover and give it a quick coat to see what gloss looked like.  Gloss is fine as long there are few imperfections in the surface but, because of the corrosion, I might not get away with it.

Hope there's metal under that corrosion.


Oof! Needs a bit of a clean up!  So a quick wire brush and I was left with this.


Time to get the rough wet and dry out.  I used an 80 grit to get rid of the worst of the corrosion and start feathering the paint edges.


Corrosion evident on the outside too.  Oh well, it'll add to the aged look! 

Time for the 320 wet and dry.  Looks like I'll end up with bare metal so 320 will be near to finish on.  If flatting off a painted surface, you need to end up with 800 grit to avoid the scratches showing through the paint.


Time to degrease and lay on the paint.  I did the underside and let it dry before turning it over and painting the side that matters.  My favourite aerosol engine paint is PJ1 Fast Black.  It goes on thick and the finish is superb.  I'm using Septone engine enamel but it does take a little more effort to cover compared to PJ1.


Unsure as yet whether or not I like it.  Might flat it off and use satin black instead. 
Decisions decisions.