Tuesday, May 17, 2011

KTM 50 Mini Adventure - Forks.

There's a certain lack of damping on this bike. The rear shock is knackered, along with its bushes; but the forks, although good in appearance, were out of sync. The one seemed fine - pushed down easily and returned slowly, spot on. The other felt like it had no oil.


So, first things first, whip the caps off and drain them.


They don't always unscrew as easily as this. I cheated - I'd already undone them with an airgun. If you're struggling to loosen them, fit them back into the yokes (triple clamps) and tighten the lower section. Leave the top yoke loose and you should now be able to undo the fork top nut.


Fork top nut out to reveal a plastic spacer. Not sure if this is genuine or not. Seems like a long spacer or a short spring! Anyway, both forks had oil in them so obviously that's not the problem. 


Out with the spring, then a 6mm Allen key to remove the bottom bolt.


Then we can remove the damper assembly with the stanchion. The aluminium collar on the end of the damper tube just slides off, and the damper rod itself can be dropped out through the opposite end of the stanchion.


And finally, we see the problem, or not. The plastic "piston ring" is missing from the sleeve, allowing the oil to bypass, but KTM only list one. It should fit into the groove on the white plastic section at the end of the damper rod, but maybe only one leg needs it. We're going to get hold of another piston ring and fit it to see how it performs. 


From what I can gather online, 110 ml of oil per fork is required and, by the feel of the other one, it's just the job.


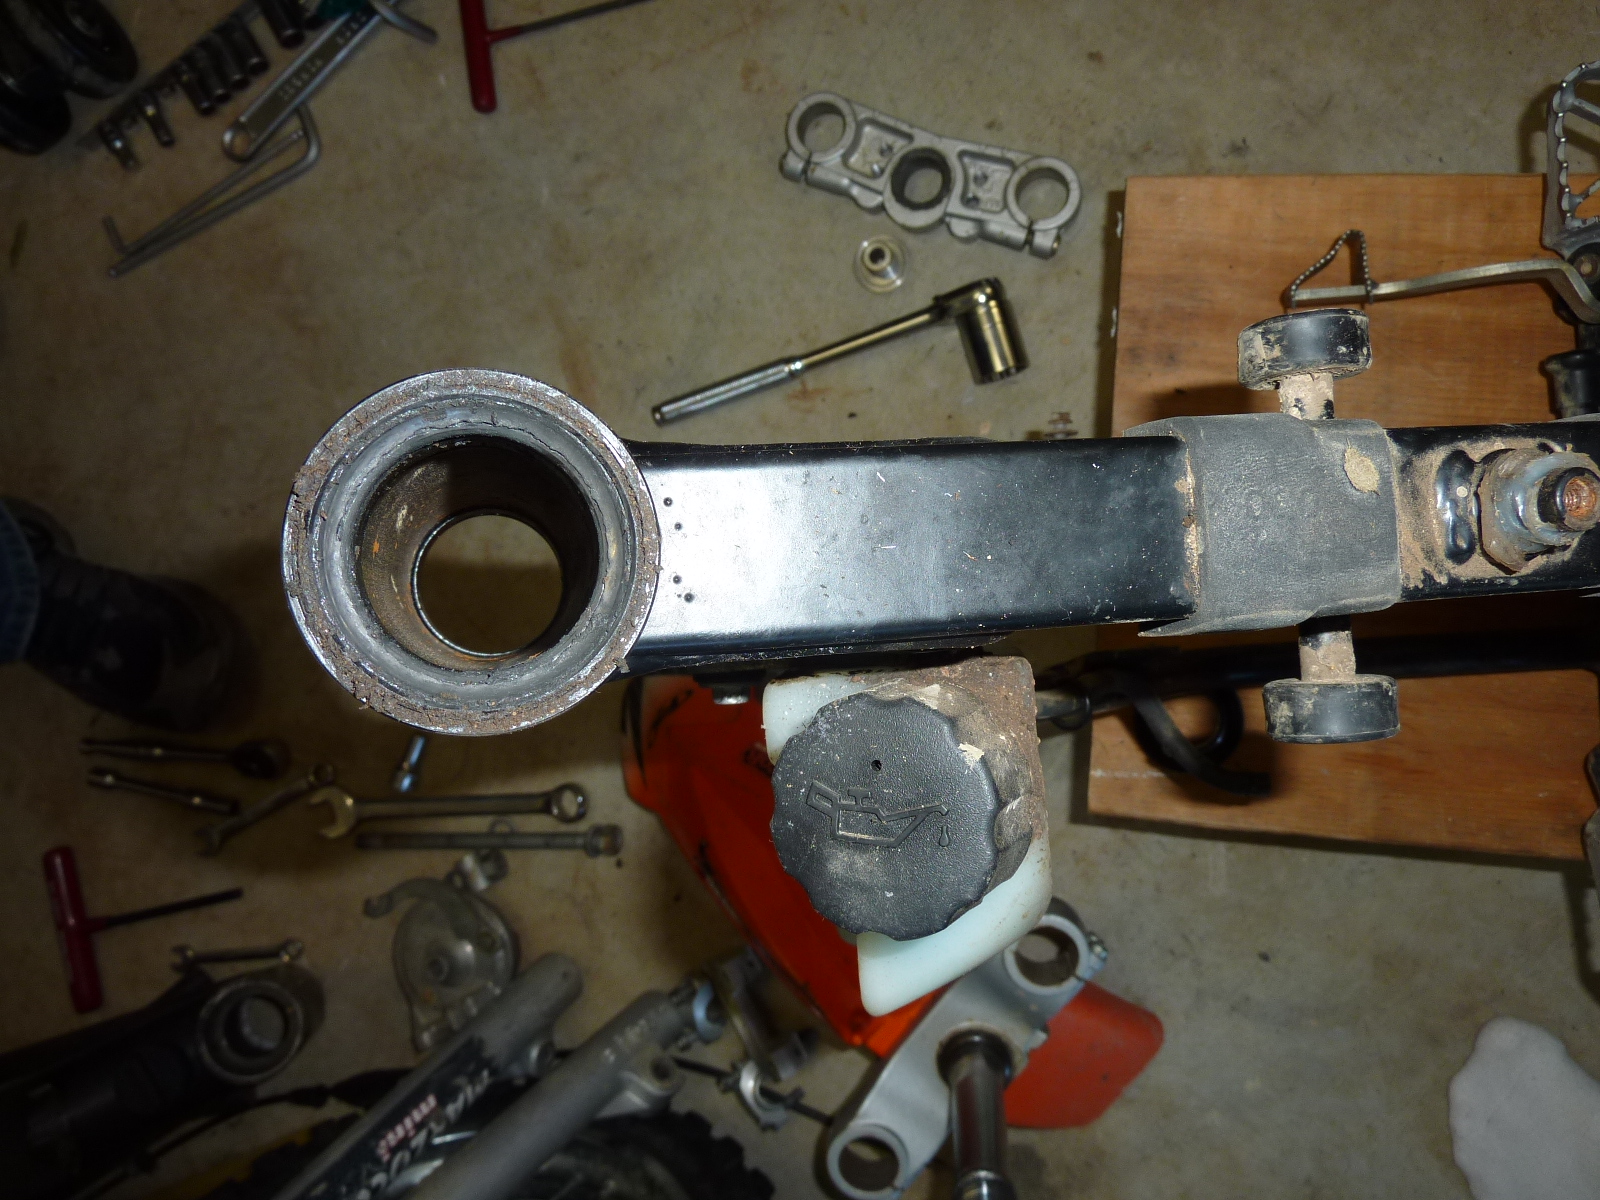
There we have the basic, conventional fork stripped down. Very easy to work on and diagnose so don't be afraid to get stuck in.


Sorry for the blurriness of some of the photos, that particular photographer has now been sacked!


Triton T140 - 'blade beater?

This is a Triton I'd love to own! 


Check out the link to this beauty with Fireblade stomp!

Triton T140


Thanks to Bike EXIF for bringing this to my attention.
Thanks to Damien McFadden for finding it, and taking the pics.
You'll find all the other information at Bike EXIF.

Tuesday, May 10, 2011

KTM 50 Mini Adventure - Rolling Chassis.

While the engine is on the operating table, I thought it would be a good time to check out the rest of the bike. I already knew the rear shock was devoid of any damping whatsoever, but the brakes, wheel bearings, swingarm, steering head bearings and forks also needed a check over.


It didn't take long to realise everything was worn out - this bike has had a hard life.


Lets start at the front. The brake is hard to pull on due to a dry cable and partially seized pivot on the actuating arm. Hopefully a clean and re-grease will cure that.


Time to drop the forks out. One has zero damping, the other isn't too bad. Time for new oil while it's apart. It all comes apart easily, no bent stanchions and no seized bolts - cool as.


Off with the Pro Taper handlebar adaptors to gain access to the top yoke. 


New bearings needed here. They are completely mullered!


Now to the rear. Disconnect the brake cable first, then it's just the spindle.


New bearings and a clean up should sort everything here.


Shoes off, cleaned up, grease the pivot and actuator and good to go again. They're worn but will last a while longer.


Time to knock out the bearings. There is a spacer in between the two bearings which needs to be moved slightly sideways to allow access to the centre of the lowest bearing. Use a good punch to dislodge the spacer, get a good seating on the bearing and give a sharp tap with a hammer. As it moves outwards, the spacer will become very loose and you'll be able to knock the bearing out evenly by moving the punch round to different positions as you tap. Don't just keep tapping in one place because you may damage the hub if the bearing doesn't come out squarely.


Bearings out, time to clean up the drum. Use rough wet and dry, or emery cloth, on the surface of the drum and then clean out any dust/mud with a a rag.


Nearly there, just the shock and the swingarm to remove.


Corroded swingarm pivot. Ideally new bushes and pivot needed, but we'll have to see.


So we need a new shock, wheel bearings, steering head bearings and possibly swingarm bearings. This little bike is going to rip!

Monday, May 2, 2011

KTM 50 Mini Adventure - the stripdown.

Another project, but not mine. This little racer belongs to Billy and the little KTM was having a few issues. It wouldn't run for long and, when it did, it would barely pull itself along. A quick try in the garage and it was obvious the clutch was slipping. So that's part of the problem. The running problem I already had a clue about; apparently she was drinking the gearbox oil - main bearings and seals!


Seat, tank and air cleaner out of the way, next was the pipe. Two-stroke motocrossers are so easy!


Off with the stator cover to reveal the oil pump drive - previously disconnected on this bike, and a quick feel for play in the crankshaft told me it needed main bearings. Grab the end of the crankshaft and try to pull it up and down, if you can feel play, the bearings are worn. Time to take off the cylinder head and whip out the engine.


The big and small end bearings have a fair amount of play - it's a wonder it sounded as good as it did when it was running. It's a fairly new piston, but I think we might need a new gudgeon pin as well as a connecting rod kit. Oh well, keep going and clutch cover off.


Not much left on the clutch linings - that'll explain the lack of drive. Not much in the way of gearbox either, simplicity itself! Need a puller for the clutch centre. Time for some fabrication.


The perfect washer. Couple of holes, refit the clutch centre-nut and job's a job!


Yes, they've worn very thin - the clutch drum is also worn, but hopefully not beyond spec. The shoes can be shimmed if need be, so let's hope it can be sorted. The new puller can be used on the rotor too - that'll ding dang do for me.


The taper broke with relative ease. This job is going well so far. Time to split the cases.


And there we have the gearbox oil that was being sucked through the seal and mullered bearing!


Time for the blowlamp to warm the cases. Get it to a temperature where your saliva spits back and the bearings should drop out. Gentlemen, spit on your engine (ladies get a cup of water).


Time to whip the piston off. I would have taken it off earlier but the circlips had been put in the wrong place making it harder to get them out. Cheers Pat!
Never mind, with the conrod held in the vice, the piston was soon off. Quick look over, smooth off the rough edges and clean the crown. Sorted.


So we need a crank rebuild, a gudgeon pin, four new bearings (crank and countershaft), three new seals, clutch shoes and a gasket set. Then we start on the chassis.

Sunday, May 1, 2011

Michelin Power Pure - the verdict.

With the Michelin Pilot Power's finally devoid of grooves, I figured it was time to upgrade. I've been wanting to try the Power Pure's for ages, so $429.00 later (Team Moto Honda, Nerang), I was ready to give them a whirl.

Now the tread pattern isn't as nice as the old Pilot's, but you can't see that when you're riding, and the riding is where it all makes sense. Fantastic from the off!

Normally, when you stick a new pair of boots on your bike, it takes a bit of getting used to; falling suddenly into bends - no more forcing it through the twisties, but not with the Power's. Spot on from the onset. If anything, slower to turn in than the old ones, but with ease and great feel.

Absolutely sublime - they suit the GSXR perfectly. First 80km ride over, and the chicken strips are already gone. Happy with that.

Lighter than their predecessors and now standard with twin-compound technology, I'm enjoying the bike more than ever before. Finally getting my left knee down now too. Successful weekend!