
It's nowhere near restored or concourse, and likely never will be, but looks pretty good considering the condition it came to me in. I'm always doing little jobs on it, and enjoy the odd ride out even if the seat is as hard as wood.
The chain and sprockets were well worn, in fact the chain I was using came off my Gixer1000 years ago. So when I saw a NOS standard rear sprocket for next to nothing on eBay, I snapped it up (obviously a fifty tooth sprocket for a GS550 is not a common item now). The gearing on the 550 was way over the top before, and was fitted with a 43T on the back. I'd always thought it had the wrong chain guard on it because of the huge gap underneath, but that wasn't the case. Standard size was seven teeth bigger.

So now I needed a front sprocket and an O-ring chain to go with it. A quick look on eBay and there was a shop selling both, with different sized fronts if need be. I decided to go for a 16T to give the GS a sightly more relaxed time (15T is standard). The prices were superb, and with a little more investigation I found out they were actually on the Gold Coast.
So I popped in...
RPM Moto.
Formerly Slipstream Performance, I'd visited them once before in Burleigh. Both live and breathe bikes, and have a vast knowledge base.
Jo, amongst other bike businesses, used to have her own track day company, while Garry was a privateer racer and competed at places such as the Isle of Man and NW200 — nothing prepares you for the pace involved in road racing. Having spectated at the Isle of Man a few times, and thinking I was pretty quick on my Busa, I was brought down to earth pretty rapidly when a Varadero, with a bloody top-box on, came flying past.
All I will say is, expect solid, reliable advice from these two. In this day and age, it is very far and few between so do yourself a favour and try them out — RPM Moto.
So, with a new 16T front sprocket and DID 530 Heavy Duty x-ring chain stuffed in my jacket, I was ready to roll.
The rear sprocket bolts were rusty, as expected, but cleaned up nicely on the wire wheel. The locking tab washers have long gone, so I thread-locked the nuts.
After cutting the chain to length, the rivets were pressed with the obligatory chain rivet tool. The link width was measured with a vernier to match all the others (when you rivet a link in, it should be identical to the others).

Final adjustment and alignment was made using two lengths of angle against the rear tyre, to compare against the front wheel. After a few rides, both sides of the sprocket are looking good, with minimal paint loss, so it must be pretty much inline. The marks on the adjusters generally aren't accurate, so two straight edges to the front of the bike are one of the simplest methods of alignment.
Two lengths of aluminium angle are perfect — if straight. A couple of blocks of wood helps here because there's little friction between the two materials.

Move the straight edges back and forth slightly until you feel that they rest against the rear tyre nicely, without deflecting away.


Put the front wheel in the straight ahead position and check distance between the straight edge and the tyre. Should be equal both sides. Obviously you need to keep an eye on chain tension as well as alignment while adjusting.

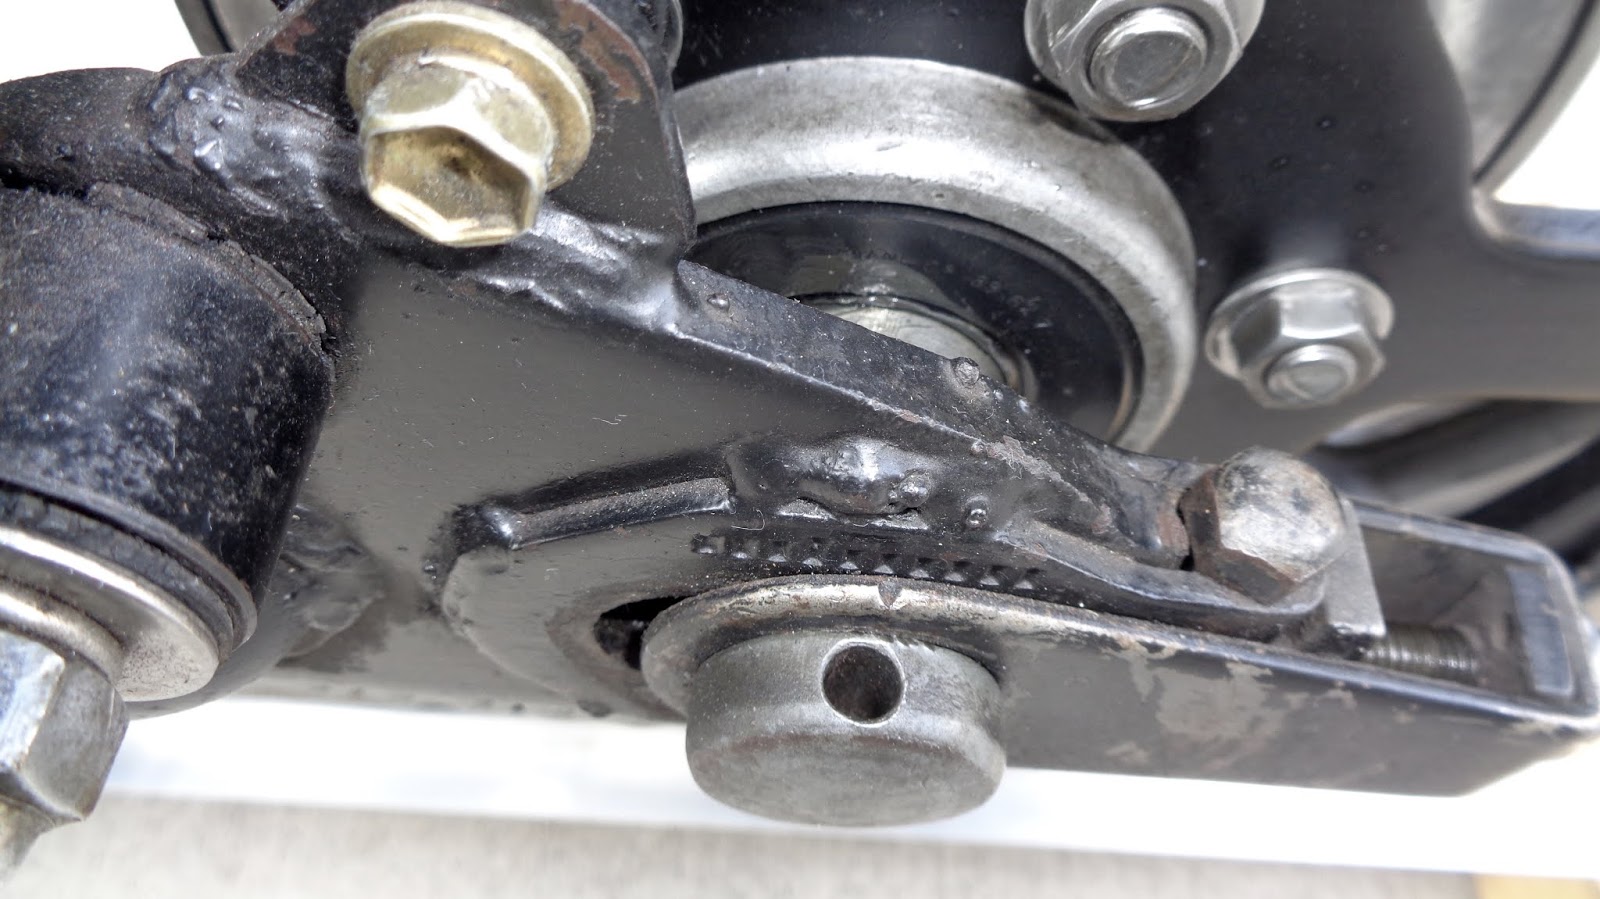
Once happy with everything, a quick look at the adjustment marks tells us all we need to know. The left side has just gone past the sixth indent on the swingarm, whereas the right side is just past the fifth.

If you've ever wondered why a rear sprocket has one side of it chewed out, while the paint is perfect on the other side, there's your answer.
Perfect timing.
While I was busy with the GS, I decided to recheck the ignition timing with a strobe. Only it was too hard to see the marks clearly on the advance mechanism. I removed the three screws holding the points backing plate on, and then took off the advance mechanism to clean and lubricate it. It's actually in really good condition and, once the dirt and rust was cleaned off, the timing marks were much easier to see.
A quick check with the strobe revealed it was a little retarded, with that adjusted I checked how much static sag was on the front forks.
It's really soft on the front and the bike dropped down 60mm under its own weight. Two washers in the top of each fork (6.3mm in total), brought that back to a slightly more reasonable 45mm.
Of course, new straight-rate springs could fix a few issues here but, honestly, how far do you go? I treat it as a little tourer that's a bit of fun on local roads. The shocks could also do with upgrading, and I'm considering some modern Triumph T100 units as they're slightly longer.
Until then, time to put in some more miles... I will just say it pulls much better with that gearing.
No comments:
Post a Comment